So you have a special formal event coming up and you’re wondering how to create a sophisticated and elegant hairstyle that will turn heads? Look no further! In this article, we will guide you through the step-by-step process of styling a chic chignon, a classic updo that is perfect for any formal occasion. With our easy-to-follow instructions, you’ll be able to achieve a timeless and polished look that will leave everyone in awe. Get ready to elevate your style and make a statement with a stunning chignon!
Can Drinking Unicorn Juice Help You Shed Pounds? Read this!!
Choosing the Right Chignon
When it comes to choosing the right chignon for a formal event, there are several factors to consider. The first is the overall style and theme of the event. Is it a black-tie affair or a more casual gathering? This will help determine whether a sleek and polished chignon or a more relaxed and tousled chignon is appropriate.
Next, consider the shape of your face. Different chignon styles complement different face shapes, so it’s important to choose a style that flatters your features. For example, if you have a round face, a chignon with height and volume at the crown can help elongate your face. On the other hand, if you have a square face, a soft and romantic chignon with loose tendrils can help soften your features.
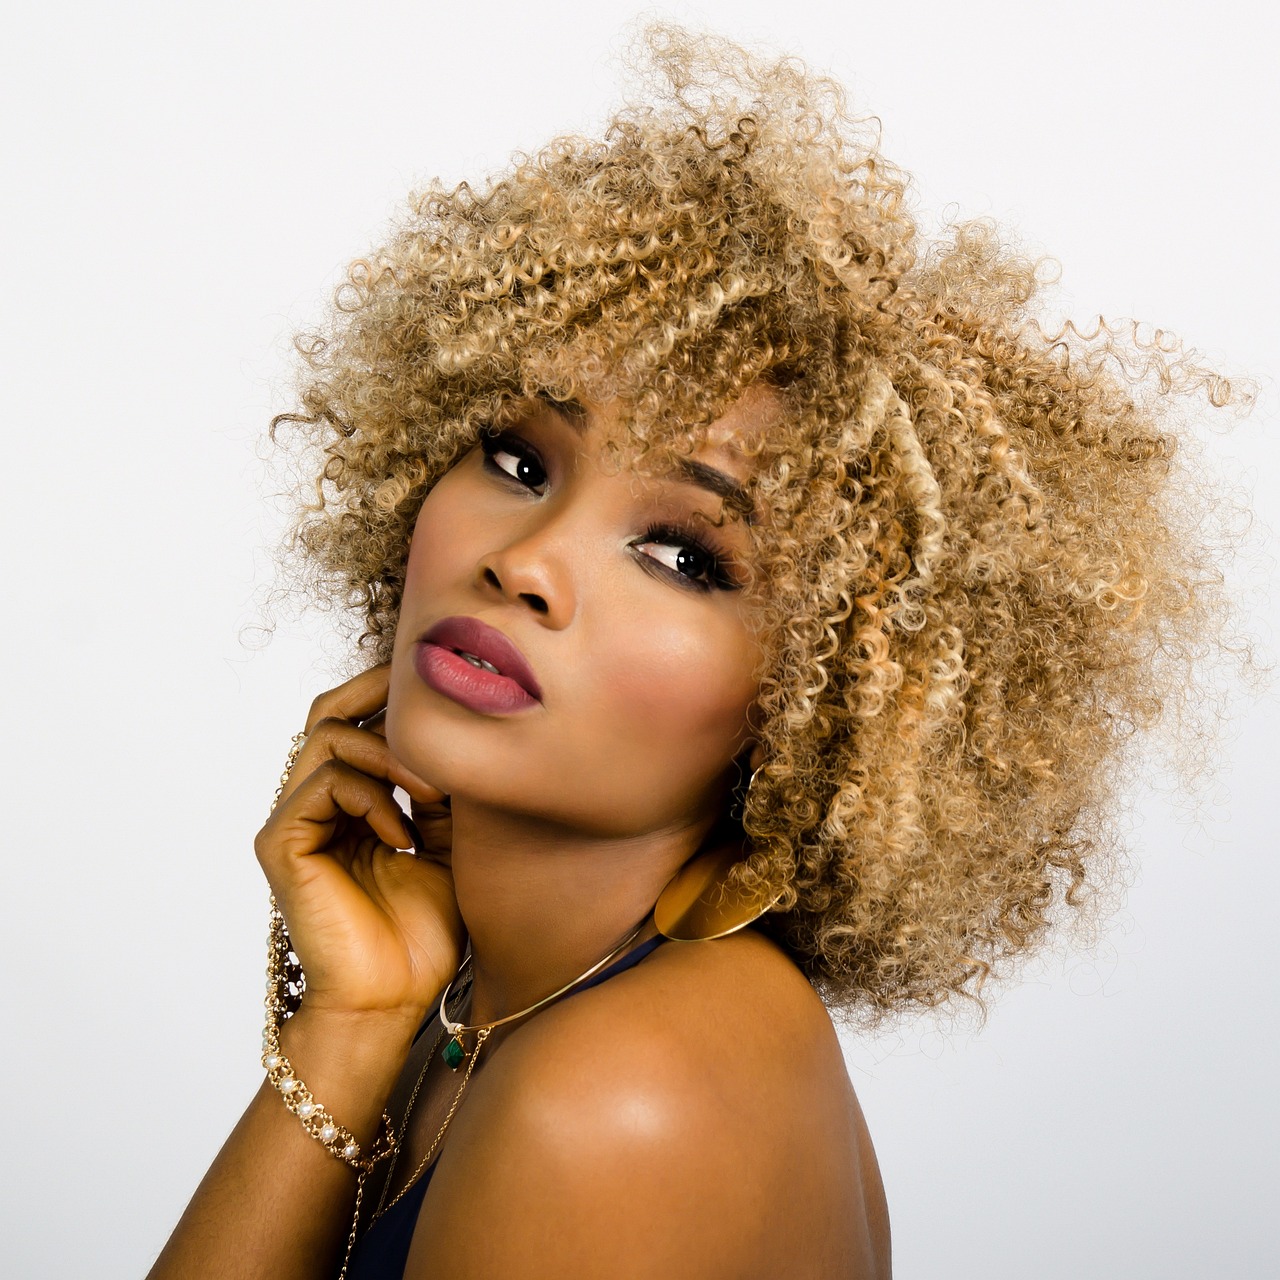
Lastly, consider your hair type and texture. Some chignon styles work better with certain hair types, so it’s important to choose a style that will work with your natural hair. If you have fine hair, for example, a chignon with added volume and texture can help create the illusion of thicker hair. If you have curly hair, a chignon that incorporates your natural curls can help enhance your texture.
Prepping Your Hair
Before creating a chignon, it’s important to prep your hair properly. This will help ensure that your chignon looks polished and stays in place throughout the event.
Washing and Conditioning
Start by washing and conditioning your hair using products that are suitable for your hair type. This will help remove any build-up and provide a clean canvas for styling. Be sure to rinse your hair thoroughly to remove all traces of shampoo and conditioner.
Applying Heat Protectant
If you plan on using heat styling tools to create your chignon, it’s important to apply a heat protectant spray or serum to prevent damage to your hair. Simply spritz the heat protectant throughout your hair, focusing on the mid-lengths and ends. This will create a barrier between your hair and the heat, helping to prevent breakage and split ends.


Creating a Polished Base
A polished base is essential for creating a chic and sophisticated chignon. This will help ensure that your chignon looks smooth and flawless from every angle.
Brushing and Detangling
Start by brushing your hair to remove any tangles and knots. This will make it easier to work with and create a polished base. Use a wide-toothed comb or a paddle brush to gently detangle your hair, starting from the ends and working your way up to the roots. This will help prevent breakage and minimize damage to your hair.
Applying Styling Cream
Next, apply a small amount of styling cream to your hair. This will help tame any frizz and flyaways, while also providing hold and control. Simply rub a dime-sized amount of styling cream between your palms and then run your fingers through your hair, focusing on the mid-lengths and ends. This will help create a smooth and polished base for your chignon.
Sectioning Your Hair
Sectioning your hair is an important step in creating a chignon, as it helps keep everything organized and ensures that your chignon looks balanced and symmetrical.
Creating a Centre Part
Start by creating a centre part in your hair. Use a tail comb or your fingers to draw a straight line down the centre of your head, starting from your forehead and ending at the nape of your neck. This will create two equal sections of hair.
Dividing Your Hair
Next, divide each section of hair into two smaller sections. Use clips or hair ties to secure the sections you’re not working with, making sure they’re out of the way. This will make it easier to create your chignon and prevent any tangling or confusion.

Twisting and Pinning
Twisting and pinning are the key steps in creating a chignon. These techniques help transform your hair into an elegant and sophisticated updo.
Twisting the Hair
Start by twisting each section of hair towards the centre of your head. Take one section at a time and twist it tightly, making sure to keep the twist close to your scalp. This will help create a sleek and polished look. Continue twisting each section until all of your hair is twisted.
Pinning the Twist
Once you’ve twisted all of your hair, it’s time to start pinning. Use bobby pins or hairpins in a colour that matches your hair to secure the twists in place. Start by placing a pin at the base of each twist, close to your scalp. Then, continue adding pins along the length of each twist, making sure to secure them tightly. This will help ensure that your chignon stays in place throughout the event.
Adding Accessories
Adding accessories is a great way to elevate your chignon and make it more unique and personalized.
Choosing the Right Hair Accessories
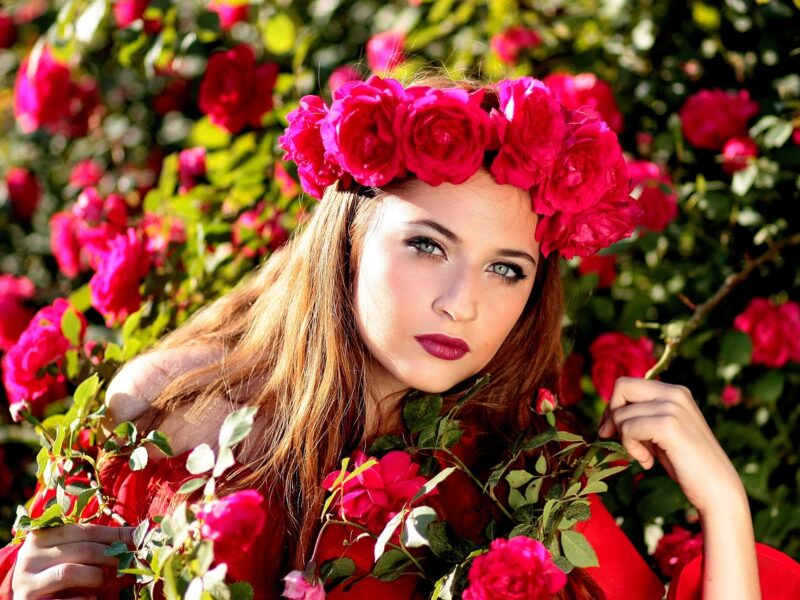
When choosing hair accessories for your chignon, consider the overall style and theme of your outfit. If you’re going for a more classic and formal look, opt for elegant accessories such as crystal hairpins or a sparkling hair comb. If you’re attending a more relaxed and bohemian event, consider adding fresh flowers or a floral headband to your chignon.
Securing the Accessories
Once you’ve chosen your hair accessories, it’s time to secure them in your chignon. Simply place the accessories where you want them to be and use bobby pins or hairpins to secure them in place. Make sure to hide the pins under the twists of your chignon for a seamless look.

Finishing Touches
The finishing touches are what really bring your chignon together and make it look polished and complete.
Smoothing Flyaways
To smooth any flyaways and baby hairs, use a small amount of hair serum or a lightweight hairspray. Simply apply the product to your fingertips and gently run them over your hair, focusing on the areas where the flyaways are most visible. This will help create a sleek and polished look.
Applying Hairspray
Lastly, apply a generous amount of hairspray to set your chignon in place. Hold the hairspray can about 12 inches away from your head and spritz it evenly over your chignon. This will help keep your chignon in place throughout the event, even if you’re dancing or moving around a lot.
Variations for Different Hair Lengths
Chignons can be adapted to suit different hair lengths, so whether you have short, medium, or long hair, there’s a chignon style for you.
Short Hair Chignon
If you have short hair, you can still create a chic and elegant chignon. Start by brushing your hair back and securing it into a low ponytail at the nape of your neck. Then, twist the ponytail tightly and wrap it around the base to create a small bun. Secure the bun with bobby pins or hairpins, making sure to tuck in any loose ends. This will create a sleek and sophisticated chignon that flatters your short hair.
Medium Hair Chignon
For medium-length hair, start by following the steps outlined earlier to create a polished base. Then, gather your hair at the nape of your neck and twist it into a low bun. Secure the bun with bobby pins or hairpins, making sure to smooth any loose ends. For added texture and dimension, you can gently pull apart the twists of your chignon to create a fuller and more voluminous look.
Long Hair Chignon
If you have long hair, you have endless options when it comes to creating a chignon. You can opt for a classic low chignon at the nape of your neck or a more intricate and elaborate chignon higher up on your head. Whichever style you choose, start by following the steps outlined earlier to create a polished base. Then, twist and pin your hair into your desired chignon shape, securing it tightly with bobby pins or hairpins. Finish with hairspray to set your chignon in place.
Chignon Maintenance Tips
Once you’ve created your chignon, it’s important to know how to maintain it throughout the day or night.
Touching Up Throughout the Day
To keep your chignon looking fresh and polished, take a few moments throughout the day to touch it up. Use a hand mirror to check for any loose or stray hairs and secure them with bobby pins or hairspray as needed. It’s also a good idea to carry a small travel-size hairspray and a few extra bobby pins in your bag for quick touch-ups on the go.
Sleeping with a Chignon
If you’re attending an event that spans multiple days and you want to keep your chignon intact overnight, there are a few things you can do. First, gently brush out your chignon, removing any pins or accessories. Then, loosely gather your hair into a low ponytail or braid it to prevent tangling and protect your chignon. In the morning, simply undo the ponytail or braid and re-pin your chignon as needed.
Conclusion
The chignon is a timeless and elegant hairstyle that is perfect for formal events. With the right preparation and attention to detail, you can create a chignon that complements your style and enhances your natural beauty. Whether you have short, medium, or long hair, there’s a chignon style that’s perfect for you. So don’t be afraid to experiment and have fun with your chignon, and remember to add your own personal touch with accessories. With these tips and tricks, you’ll be able to create a chic and sophisticated chignon that will turn heads at any formal event.