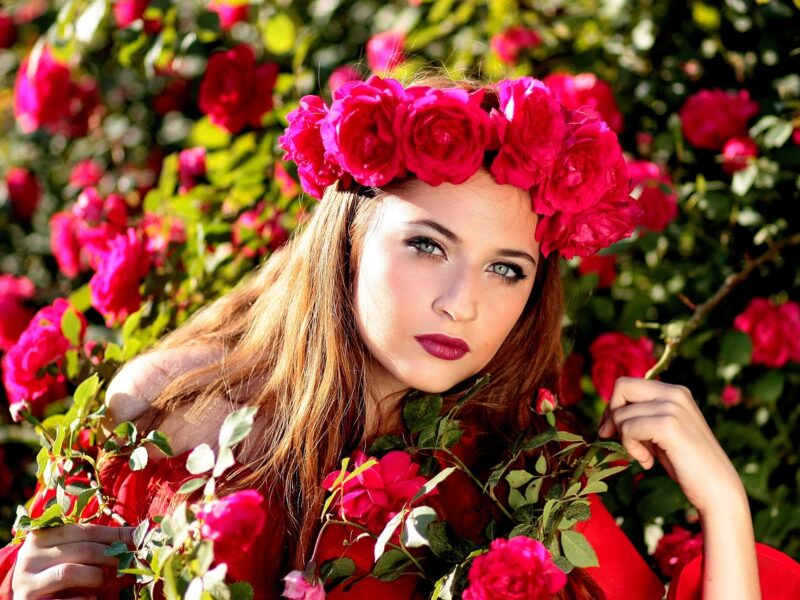
So you want to create a retro pin-up hairstyle? Look no further, because we’ve got you covered! In this article, we will guide you through the step-by-step process of achieving that iconic vintage look. From choosing the right products to mastering the perfect victory rolls, you’ll learn all the tips and tricks you need to know. Get ready to turn heads and transport yourself back to the glamorous era of the 1950s with this stunning hairstyle. Let’s get started!
Can Drinking Unicorn Juice Help You Shed Pounds? Read this!!
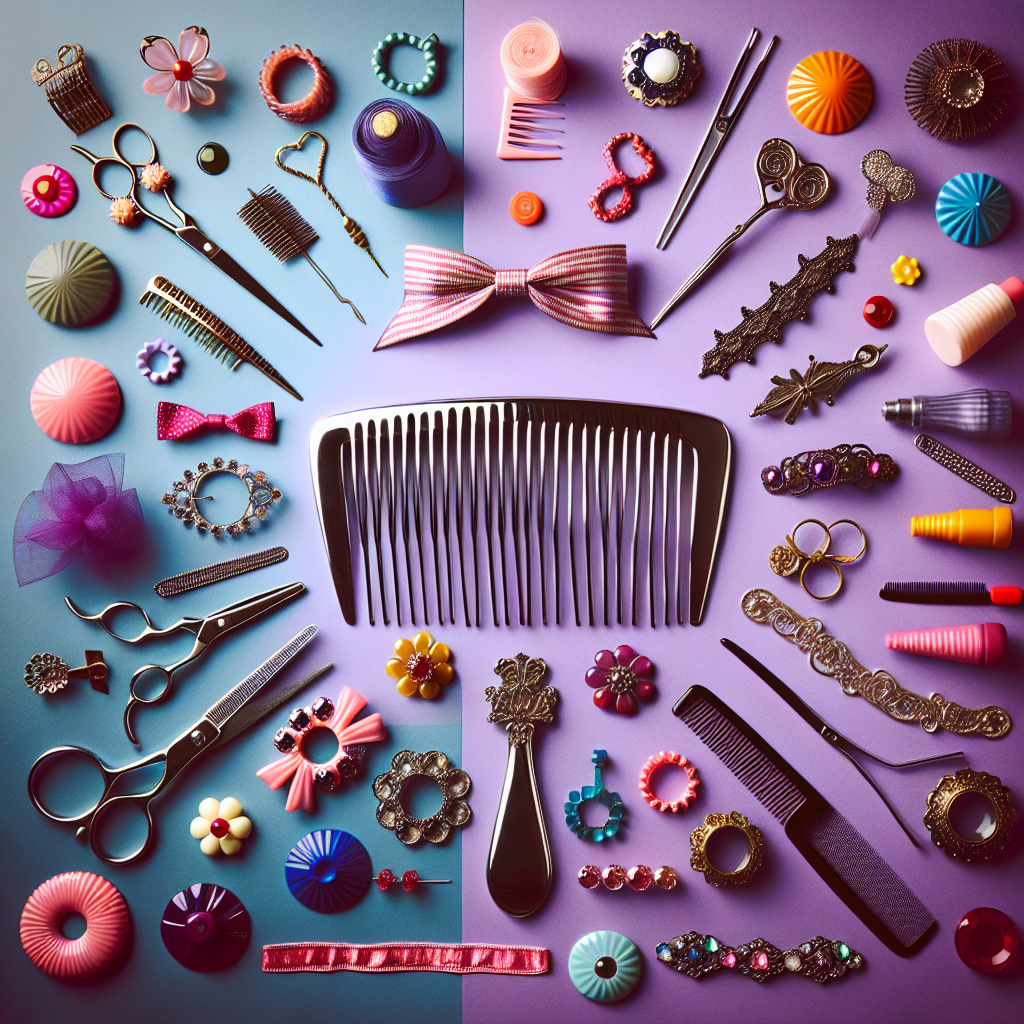
Choosing the Right Tools and Products
When it comes to creating a retro pin-up hairstyle, choosing the right tools and products is essential. From combs to hairsprays, curling irons to hair setting sprays, each item plays a crucial role in achieving the desired vintage look.
Selecting the right comb
To create a retro pin-up hairstyle, it’s important to select the right comb. Look for a comb with fine teeth that can easily glide through your hair without causing breakage or damage. A classic rat-tail comb is an excellent choice as it allows for precise parting and sectioning.
Choosing the appropriate hairspray
Hairspray is a must-have product when styling a retro pin-up hairstyle. Look for a hairspray that provides a strong hold without leaving your hair feeling stiff or sticky. Opt for a hairspray that offers long-lasting hold to keep your retro hairstyle in place all day long.
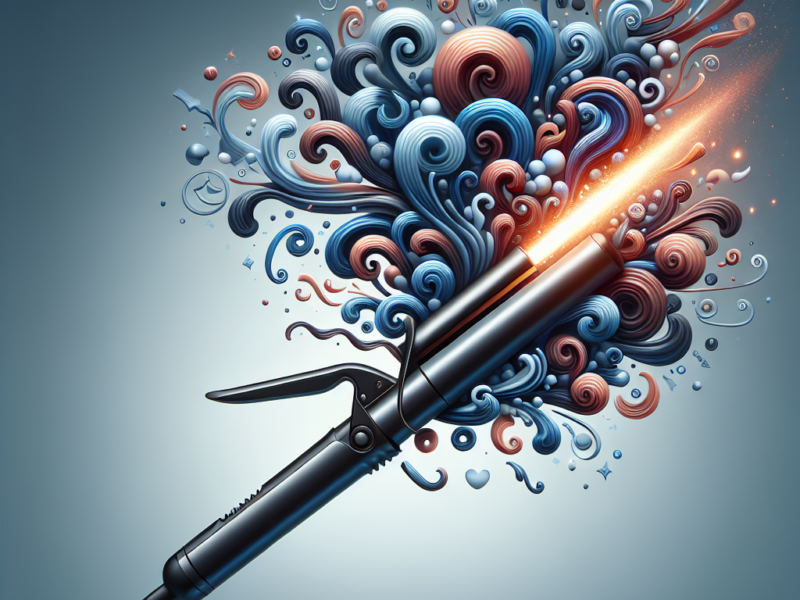
Picking the correct size curling iron
When it comes to curling your hair for a pin-up look, choosing the correct size curling iron is crucial. If you want tight, small curls, opt for a smaller barrel size, around 1/2 to 3/4 inch. For looser, more relaxed waves, a larger barrel size, around 1 to 2 inches, will work best.
Selecting a suitable hair setting spray
To ensure that your retro pin-up hairstyle lasts all day, it’s important to select a suitable hair setting spray. Look for a setting spray that provides a strong hold and helps to lock in your curls or waves. Choose a spray that is lightweight and doesn’t leave any residue or buildup on your hair.
Preparing Your Hair
Before starting the styling process, it’s important to properly prepare your hair for a retro pin-up hairstyle. This involves washing and conditioning your hair, towel-drying it, applying a heat protectant, and detangling it.
Washing and conditioning your hair
Start by washing your hair with a shampoo and conditioner that are suitable for your hair type. Choose products that are gentle, nourishing, and free from harsh chemicals. Make sure to rinse your hair thoroughly to remove any residue.
Towel-drying your hair
After washing, gently towel-dry your hair to remove excess moisture. Avoid rough towel-drying as it can cause frizz and damage to your hair. Instead, pat your hair dry with a soft towel or an old t-shirt to minimize friction and protect your hair cuticles.
Applying a heat protectant
Before exposing your hair to any heat styling tools, it’s crucial to apply a heat protectant spray or serum. This will help protect your hair from heat damage and minimize breakage. Apply the heat protectant evenly throughout your hair, focusing on the mid-lengths and ends.
Detangling your hair
To ensure smooth and manageable hair, take a wide-toothed comb or a detangling brush and gently comb through your hair, starting from the ends and working your way up. This will help remove any tangles or knots, allowing for easier styling later on.
Creating Volume and Texture
One of the key elements of a retro pin-up hairstyle is the volume and texture it offers. Achieving this glamorous look involves using specific techniques and products to add lift, body, and texture to your hair.
Using a volumizing mousse
To create volume and texture, apply a volumizing mousse to your roots before blow-drying your hair. This will help add lift and fullness, making it easier to style your hair into the desired retro look.
Teasing the hair at the crown
To add height and volume at the crown of your head, gently tease your hair using a fine-toothed comb or a teasing brush. Start at the roots and work your way up, backcombing small sections of hair. Once you are happy with the volume, smooth the hair over the teased section using a comb, being careful not to flatten the teased area.
Creating a bouffant
To achieve the iconic retro bouffant, take a section of hair from the crown and gently backcomb it to create height. Use a brush to smooth the top layer of hair, ensuring a polished finish. Secure the bouffant with bobby pins to hold it in place.
Adding texture with a texturizing spray
To enhance the texture of your hair and give it that vintage-inspired feel, use a texturizing spray. Apply the spray to the mid-lengths and ends of your hair, scrunching it with your fingers to create loose, tousled waves. This will help add definition and texture to your pin-up hairstyle.
Curling Techniques
Curling your hair is an essential step in creating a retro pin-up look. Mastering the art of curling is key to achieving perfectly coiffed vintage-inspired waves or curls.
Dividing the hair into sections
Before you begin curling, divide your hair into manageable sections. Start by parting your hair down the middle, then further divide it horizontally, creating top and bottom sections. Clip the sections you are not working on to keep them out of the way.
Curling towards the face
To achieve the classic pin-up style, curl your hair towards your face. Take a small section of hair and wrap it around the curling iron, starting at the roots and working your way towards the ends. Hold the curling iron in place for a few seconds, then release the hair. Repeat this process for each section, alternating the direction of the curls for a more natural look.
Using different curling directions for variation
If you want to add more dimension to your pin-up hairstyle, try curling sections of hair away from your face. This will create a subtle variation in the curls, giving your hair a more textured and lived-in appearance. Remember to alternate the curling direction for a natural look.
Clipping or pinning the curls
After curling each section, carefully remove the curling iron and allow the curl to cool in your hand. Once it has cooled, clip or pin the curl to your head. This will help the curl set and hold its shape for longer. Continue curling and pinning each section until your entire head is curled.
Pin-up Hairstyle Variations
There are various pin-up hairstyle variations that you can experiment with to achieve your desired retro look. From classic victory rolls to bumper bangs, these styles add a touch of vintage glamour to any outfit.
Classic Victory Rolls
One popular pin-up hairstyle is the classic victory rolls. To create this look, start by sectioning off a small section of hair from the front of your head. Divide it into two sections and roll each section inward towards your scalp, securing them with bobby pins. Repeat this process on the other side, creating a pair of victory rolls.
Bumper Bangs
Bumper bangs are another iconic pin-up hairstyle that adds a vintage touch to any look. To create bumper bangs, section off a small portion of hair at the front of your head. Backcomb the hair at the roots for added volume, then smooth the top layer to create a rounded shape. Secure the bumper bangs with bobby pins, allowing them to frame your face.
Retro Updo
For a more formal pin-up look, try a retro updo. Start by curling your hair using a large barrel curling iron to create loose waves. Gather your hair into a low ponytail, leaving a small section at the front. Twist the ponytail into a loose bun and secure it with bobby pins. Take the front section of hair and roll it into a victory roll, securing it with pins. This creates a chic and elegant updo with a vintage flair.
Veronica Lake Waves
Veronica Lake waves are a glamorous and sophisticated pin-up hairstyle. To achieve this look, curl your hair using a large barrel curling iron. Once the curls have cooled, gently brush them out to create soft waves. Part your hair to the side and drape one side over your shoulder, creating the signature Veronica Lake style.
Creating Signature Pin-up Bangs
Pin-up bangs are a signature feature of retro hairstyles and can add a playful and flirty touch to your look. Follow these steps to create the perfect pin-up bangs.
Sectioning the hair for bangs
Start by sectioning off a portion of hair at the front of your head to create the bangs. The width of this section should be determined based on your desired bangs’ thickness and length. Clip back the remaining hair to keep it out of the way.
Creating a slight bouffant
To add volume and height to your bangs, gently tease the hair at the roots. Use a fine-toothed comb or a teasing brush to backcomb the hair, creating a slight bouffant. This will give your bangs the desired retro lift.
Rolling the bangs inward
Taking the section of hair set aside for the bangs, roll it inward towards your forehead. Start from the ends and roll towards the roots, creating a slight curl or tuck. Use bobby pins to secure the rolled hair in place.
Securing the bangs with bobby pins
To ensure that your pin-up bangs stay in place throughout the day, secure them with bobby pins. Use two or three bobby pins to anchor the rolled hair, crossing them over each other for extra security. Tuck any loose ends under the rolled hair and pin them in place.
Styling and Finishing
Once you have created your desired pin-up hairstyle, it’s time to style and finish it for a polished and glamorous look.
Gently brushing out the curls
To create softer waves and a more natural finish, gently brush out the curls using a soft bristle brush. Start from the ends and work your way up, gradually brushing out the curls to achieve your desired level of volume and texture.
Using a wide-toothed comb for softer waves
If you prefer a more defined wave pattern, use a wide-toothed comb to comb through your hair. This will help separate the curls and create tighter, more defined waves. Use the comb to tease the curls and create volume at the roots for added lift.
Applying hairspray for lasting hold
To ensure that your pin-up hairstyle stays in place all day, apply a generous amount of hairspray. Hold the hairspray a few inches away from your head and mist it over your hair, focusing on the curls and any areas that need extra hold. This will help your hairstyle last for hours without losing its shape.
Adding hair accessories for the retro pin-up look
To enhance the retro vibe of your pin-up hairstyle, accessories play a key role. Consider adding accessories such as decorative hairpins, headbands, bows, or scarves to complete your vintage-inspired look. Choose accessories that complement your hairstyle and outfit, adding an extra touch of glamour to your pin-up style.
Refining and Perfecting
After styling and finishing your pin-up hairstyle, take the time to refine and perfect any areas that may need adjustment.
Adjusting the placement of curls
If you notice any curls that are out of place or not sitting the way you want them to, take a moment to adjust their placement. Gently twist or reposition any curls that need refinement, using bobby pins or clips to secure them in place.
Adding additional volume as desired
If you feel that your pin-up hairstyle could benefit from more volume, add it as desired. Use a teasing brush or a comb to gently backcomb sections of hair at the roots for added lift. Remember to smooth the top layer to maintain a polished finish.
Making the hairstyle asymmetrical
For a unique and eye-catching twist on the classic pin-up style, consider making your hairstyle asymmetrical. Experiment with different curls, waves, or bangs placement on each side of your head to create a visually interesting and dynamic look.
Adding final touches with a shine serum
To add a glossy and polished finish to your pin-up hairstyle, apply a small amount of shine serum or hair oil. Rub a drop or two between your palms and run your hands over your hair, focusing on the mid-lengths and ends. This will help add shine and smooth down any flyaways, giving your hairstyle a glamorous and professional touch.

Maintaining the Pin-up Style
To ensure that your pin-up hairstyle stays intact and looking fabulous, it’s important to take proper care and maintenance steps.
Sleeping with a satin bonnet or scarf
To protect your pin-up style while you sleep, consider investing in a satin bonnet or scarf. These gentle materials help minimize friction and prevent your hair from becoming frizzy or tangled overnight. Simply secure your hair in the bonnet or wrap it in the scarf before bed to maintain your hairstyle.
Touching up curls with a curling iron
If you notice any curls starting to lose their shape or become unruly, a quick touch-up with a curling iron can help revive them. Take small sections of hair and re-curl them using a curling iron of similar size to your original curls. This will help maintain the overall look of your pin-up hairstyle.
Refreshing the volume and texture with dry shampoo
To refresh the volume and texture of your pin-up hairstyle between washes, reach for a dry shampoo. Spray it onto the roots and massage it into your scalp to absorb excess oil and add lift to your hair. Use your fingers or a brush to distribute the dry shampoo evenly, giving your hairstyle a refreshed and revitalized appearance.
Maintaining hairstyles with regular trims
To keep your pin-up hairstyle looking its best, it’s important to maintain healthy hair through regular trims. Schedule regular visits to your hairstylist to have split ends and damaged hair trimmed. This will help keep your hair looking vibrant, fresh, and ready to be styled into the perfect pin-up look.
Experimenting and Adding Personal Touches
Creating a pin-up hairstyle is not just about following a set of steps but encompasses adding personal touches and experimenting with different elements to make the style uniquely yours.
Incorporating vibrant hair colors
If you’re feeling adventurous, consider incorporating vibrant hair colors into your pin-up hairstyle. From bold reds to vivid blues, colorful hair can add an extra element of fun and playfulness to your retro-inspired look. Consult a professional colorist to achieve your desired hair color safely and effectively.
Accentuating with hair accessories
Hair accessories are a fantastic way to add a personal touch to your pin-up hairstyle. Experiment with different styles of headbands, hairpins, or bows to reflect your individual taste and personality. Whether you prefer whimsical floral pieces or glamorous rhinestone accents, there is an accessory to complement any pin-up look.
Trying different pin-up inspired hairstyles
While the classic pin-up look is timeless and iconic, don’t be afraid to experiment with different pin-up inspired hairstyles. From victory rolls to poodle updos, there are countless styles to explore. Take inspiration from your favorite retro icons and adapt their hairstyles to suit your hair length, texture, and personal style.
Adapting the style for different hair lengths
Pin-up hairstyles can be adapted to suit different hair lengths, from short bobs to long locks. Experiment with different curling techniques, updos, or accessories to create a pin-up look that works best for your hair length. Don’t be afraid to get creative and embrace the versatility that pin-up styling offers.
Creating a retro pin-up hairstyle is a delightful and rewarding process. By following the steps outlined in this comprehensive guide and adding your personal touches and experimentation, you can craft a stunning and glamorous pin-up look that is uniquely yours. Embrace the vintage charm, channel your inner retro diva, and enjoy the confidence and style that a pin-up hairstyle brings.