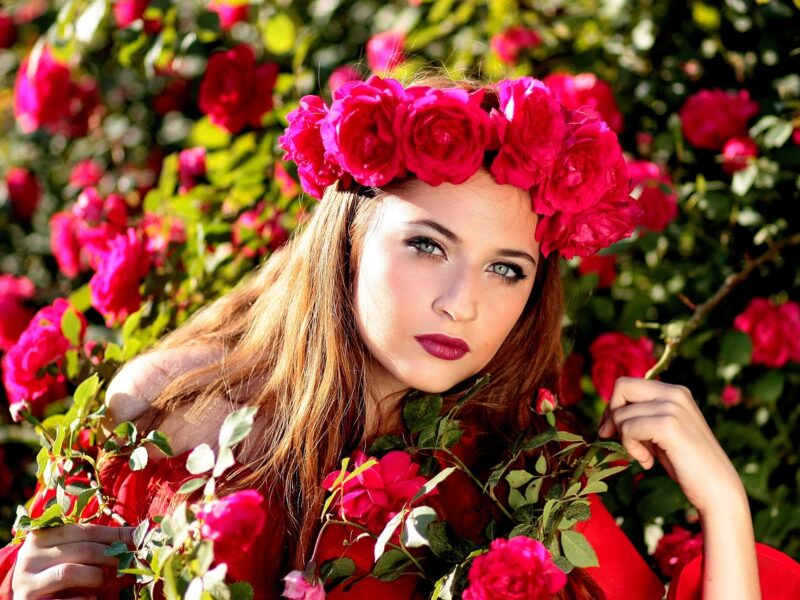
Are you tired of struggling to create a top knot bun that looks sleek and polished? Look no further – this article will guide you through the step-by-step process of achieving a flawless top knot bun like a professional stylist. From choosing the right tools to mastering the technique of wrapping the hair, you’ll soon be able to effortlessly rock this trendy hairstyle with confidence. Get ready to elevate your hair game to pro level!

Can Drinking Unicorn Juice Help You Shed Pounds? Read this!!
Section 1: Preparing Your Hair
When it comes to creating the perfect top knot bun, preparation is key. Start by choosing the right hair texture and length that you desire for your bun. Whether you have long, medium, or short hair, a top knot bun can work for you. Next, wash and condition your hair to ensure that it is clean and ready for styling. This will help your hair to be more manageable and easier to work with. Additionally, make sure to apply a heat protection spray before using any heat tools to prevent any damage to your hair. Finally, brush out any tangles in your hair to ensure a smooth and sleek base for your top knot bun. If you find that your hair lacks texture, consider using a texturizing spray to add some extra volume and grip.
Section 2: Creating the Perfect Base
To create the perfect base for your top knot bun, start by gathering your hair into a high ponytail. You can use a brush or your fingers to smooth out any bumps or lumps in your hair. Once your ponytail is secure, make sure to tie it tightly to ensure that your bun will stay in place throughout the day. To give your bun a fuller look, create a donut shape using a hair donut. Slide the donut to the base of your ponytail, ensuring that it is securely in place.

Section 3: The Top Knot Bun Technique
Now that you have created the perfect base, it’s time to master the top knot bun technique. Start by dividing your ponytail into two equal sections. Take one section and wrap it around the donut, making sure to cover the entire donut. Secure the wrapped section with bobby pins, placing them strategically to hold the bun in place. Repeat the wrapping process with the other section, wrapping it in the opposite direction. Once both sections are wrapped and secured, tuck in any loose ends to create a seamless look.
Section 4: Adding the Finishing Touches
To ensure that your top knot bun stays in place all day, use a hairspray to set it. Gently pull on the bun to create some volume and give it a more effortless look. If you want to add some extra flair to your bun, consider adding accessories or decorative pins. This is a great way to personalize your top knot bun and make it unique to you. To add some shine and sleekness to your hair, apply a hair serum to the ends of your bun. Finally, mist your bun with a light coat of hairspray to hold everything in place.

Section 5: Tips and Tricks
Creating the perfect top knot bun takes practice, so don’t be discouraged if it doesn’t turn out exactly how you want it the first time. Here are some tips and tricks to help you along the way. First, make sure to choose a donut that matches your hair color to create a natural look. Experiment with different placement heights to find the most flattering style for your face shape. If you want to add some extra volume to your bun, tease your hair before creating the ponytail. When securing the ponytail, use an elastic band instead of a regular hair tie to prevent any creasing or indents. Lastly, be patient and practice the top knot bun technique until you feel comfortable with it.
Section 6: Common Mistakes to Avoid
While creating a top knot bun is relatively simple, there are some common mistakes to avoid to achieve a polished look. One mistake is creating a messy and uneven bun. To avoid this, make sure to wrap the sections of your ponytail tightly around the donut and secure them with bobby pins. Another mistake is not securing the bun tightly enough, which can cause it to come undone throughout the day. To prevent this, make sure to tie the ponytail tightly and use enough bobby pins. Leaving visible bobby pins or hair elastics is another mistake to avoid. Take the time to hide any visible hair accessories for a more seamless look. Lastly, don’t skip the step of brushing out tangles before starting the top knot bun. This will ensure a smoother and neater final result. Additionally, be mindful of overusing hair products, as this can weigh down your bun and make it look greasy.

Section 7: Variations and Styling Ideas
The beauty of the top knot bun is its versatility. Here are some variations and styling ideas to switch up your top knot bun look. For a more relaxed and effortless style, try the half-up top knot bun by leaving some hair down at the front. If you want to add some intricacy to your bun, try the braided top knot bun by incorporating small braids into the bun. For a more subtle and understated look, opt for the low top knot bun by positioning it closer to the nape of your neck. If you prefer a sleek and polished look, smooth out any flyaways and use a strong hold hairspray to keep everything in place. Finally, for an edgier and more textured look, embrace the messy and textured top knot bun by pulling out some pieces of hair and using a texturizing spray.
Section 8: Top Knot Bun for Different Hair Types
No matter your hair type, you can rock a top knot bun. Here are some tips specific to different hair types. If you have short hair, you may need to secure the ponytail closer to the crown of your head to achieve a top knot bun look. For long hair, you have the advantage of more length to create a voluminous bun. If you have curly hair, consider using a gel or mousse to help define your curls before creating the bun. For thin hair, tease the ponytail slightly to add some volume and fullness to the bun. Conversely, if you have thick hair, make sure to secure the bun tightly with enough bobby pins to hold all of your hair in place.
Section 9: Top Knot Bun for Special Occasions
The top knot bun is not just for everyday wear, it can also be dressed up for special occasions. Here are some ideas for different occasions. For weddings, consider adding some flowers or a decorative hairpiece to your top knot bun for an elegant and romantic look. For prom, incorporate some sparkly pins or a statement hair accessory to make your top knot bun stand out. For parties, play with different textures and braids to create a unique and fun top knot bun. For work, keep your top knot bun sleek and polished by smoothing down any flyaways and using a strong hold hairspray. Finally, for casual days, embrace the messy and textured top knot bun for a laid-back and effortless look.
Section 10: Final Thoughts
In conclusion, creating a top knot bun like a pro is all about preparation, technique, and personal flair. Practice and experiment to find the perfect style that suits you. Have fun with your top knot bun and embrace its versatility. Remember to keep your hair healthy by regularly washing, conditioning, and using heat protection. Lastly, accessorize and personalize your top knot bun to make it uniquely yours. With confidence, you can rock any hairstyle, including the top knot bun. So go ahead, give it a try and enjoy the chicness and ease of the top knot bun!