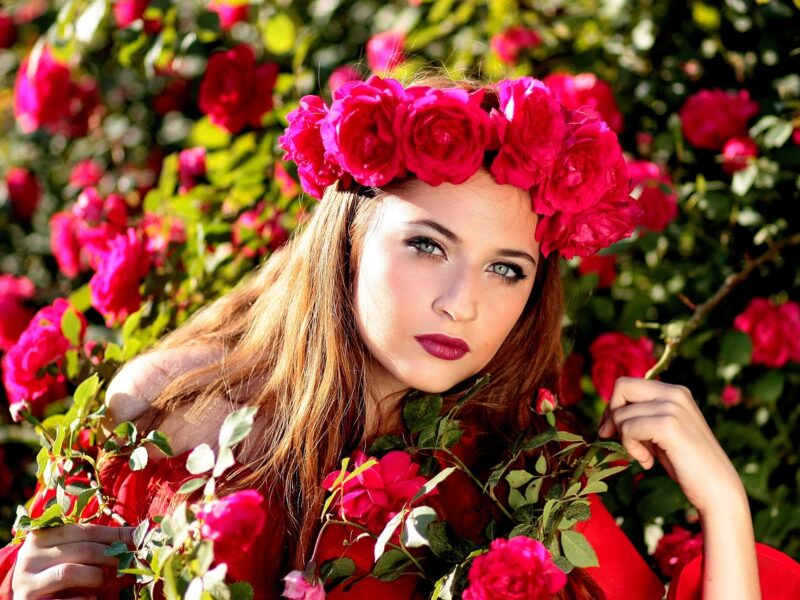
You’ve always admired the glamorous waves that grace the red carpet, but have you ever wondered how to recreate that look yourself? With our simple step-by-step guide, you’ll learn the secrets behind achieving those enviable Hollywood waves. Whether you have short or long hair, we’ll show you the techniques and tools you need to transform your locks into a dazzling masterpiece. So get ready to unleash your inner celebrity and turn heads wherever you go with your stunning Hollywood waves.
Can Drinking Unicorn Juice Help You Shed Pounds? Read this!!
Choosing the Right Tools
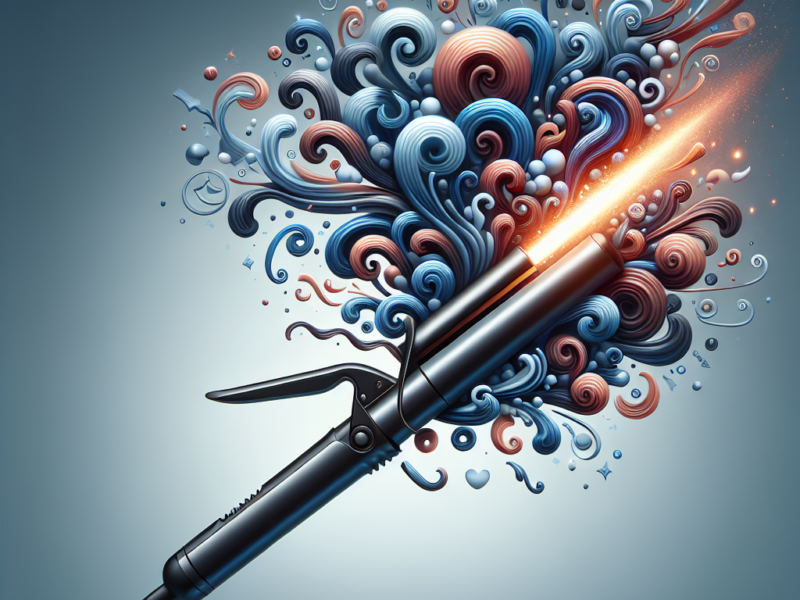
Selection of Curling Iron
When it comes to creating glamorous Hollywood waves, one of the most important steps is choosing the right curling iron. You want to look for a curling iron with a barrel size that suits the length of your hair and the desired size of your waves. For shorter hair, a smaller barrel size, such as 1 inch, would work well. On the other hand, if you have longer hair or want larger waves, a larger barrel size, like 1.5 inches or even 2 inches, would be ideal. Consider your hair length and the type of waves you want to achieve before making your selection.
Use of Heat Protectant Spray
Before diving into the curling process, it’s essential to protect your hair from the potential damage caused by heat styling tools. Heat protectant spray is a must-have product in your haircare routine when creating Hollywood waves. Not only does it provide a barrier between your hair and the heat, but it also helps to prevent moisture loss and maintain the health of your hair. Spray a generous amount of heat protectant evenly throughout your hair before applying any heat to ensure maximum protection and long-lasting waves.
Preparing Your Hair
Washing and Conditioning
To create the perfect foundation for Hollywood waves, it’s crucial to start with clean and well-conditioned hair. Use a gentle shampoo to cleanse your hair, focusing on the scalp, and massage it in using your fingertips. Rinse thoroughly and follow up with a nourishing conditioner, focusing on the lengths and ends of your hair. Allow the conditioner to sit for a few minutes before rinsing it out. Clean, conditioned hair not only helps to hold the waves better but also enhances the overall shine and health of your hair.
Applying a Mousse or Volumizer
Once your hair is clean and conditioned, it’s time to add some volume and texture to give your waves that glamorous Hollywood look. Apply a mousse or volumizer evenly throughout your damp hair, starting at the roots and working your way down to the ends. These products help to create a fuller, more voluminous look and provide a better grip for the curls to hold onto. Choose a mousse or volumizer that suits your hair type and desired level of hold, and distribute it evenly to ensure all sections of your hair benefit from the added volume.
Creating a Base
Sectioning the Hair
Before you start curling your hair, it’s essential to section it properly for ease and efficiency. Divide your hair into manageable sections using clips or hair ties. Start by creating a part in the middle or slightly off-center, from the front of your hairline to the nape of your neck. Clip one side away and focus on the other side first. Divide this side into smaller horizontal sections, starting from the back and moving towards the front. By sectioning your hair, you can focus on one portion at a time, ensuring that each curl is perfectly executed.
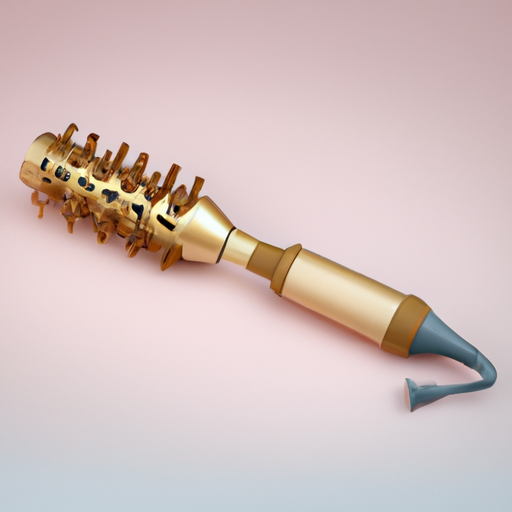
Using a Curling Iron
Now that your hair is divided into sections, it’s time to start curling. Take a small section of hair, approximately 1 inch wide, and hold the curling iron parallel to the section. Starting from the mid-lengths of the hair, wrap the section around the barrel of the curling iron, moving towards the ends. Hold for a few seconds, then release the curl. Repeat this process for each section, alternating the direction of the curls (forward and backward) to create a more natural and effortless look. Work your way through all the sections until your entire head is curled, leaving the ends slightly straight for that classic Hollywood wave effect.
Curling Technique
Selecting the Proper Size Barrel
The size of the barrel you select is crucial to achieving the perfect Hollywood waves. Smaller barrels, such as 1 inch, create tighter, more defined curls, while larger barrels, like 1.5 inches or 2 inches, produce looser, more relaxed waves. Consider your hair length, texture, and the desired outcome when selecting the size of the barrel. Experimenting with different sizes can help you find the one that best suits your hair and the look you want to achieve, whether it’s Old Hollywood glamour or modern, tousled waves.
Wrapping the Hair around the Barrel
When curling your hair, it’s important to pay attention to the technique to achieve those flawless Hollywood waves. Take small sections of hair and wrap them around the barrel, making sure to start from the mid-lengths rather than the roots. This technique creates a more natural-looking wave and ensures the curls don’t start too close to your scalp. Leave the ends of your hair slightly straight to maintain those iconic Hollywood waves. Remember to hold each curl for a few seconds before releasing it for long-lasting, bouncy waves.
Enhancing the Waves
Loosening the Curls with Fingers
After curling your entire head, it’s time to enhance the waves and give them a more effortless and casual look. Gently run your fingers through your hair, starting from the roots and working your way to the ends. This technique helps to loosen the curls, creating a softer and more natural wave pattern. Be careful not to comb through your hair too vigorously, as this can cause the waves to become frizzy or lose their shape. Using your fingers to separate and relax the curls will give your Hollywood waves a touch of elegance and sophistication.
Separating the Waves with a Wide-Tooth Comb
For a more defined and separated wave pattern, you can use a wide-tooth comb to further enhance your Hollywood waves. Starting from the ends, gently comb through your hair, working your way up towards the roots. This technique helps to create more distinct waves and prevent them from clumping together. Be gentle when combing to avoid causing any frizz or disrupting the shape of the waves. A wide-tooth comb is ideal for preventing breakage and maintaining the integrity of your curls while achieving that desired classic Hollywood aesthetic.
Adding Volume and Texture
Backcombing at the Crown
To add volume and height to your Hollywood waves, backcombing at the crown is a trick that never fails. Take small sections of hair at the top of your head, close to the roots, and hold them straight up. Using a fine-tooth comb, gently tease the hair in a downward motion towards the roots. This technique helps to create lift and volume at the crown of your head, giving your waves a more glamorous and red carpet-worthy appearance. Remember to use gentle strokes and avoid excessive teasing, as it can lead to tangles and damage.
Using a Texturizing Spray
Texturizing sprays are a fantastic way to add volume and texture to your Hollywood waves. After backcombing at the crown, lightly spray a texturizing spray throughout your hair. This will give your waves more hold and create that effortlessly tousled look often seen on the red carpet. Choose a texturizing spray that suits your hair type and desired level of hold. Apply it evenly to your hair, focusing on the mid-lengths and ends to achieve the desired amount of volume and texture. Texturizing sprays can make a significant difference in the final look of your Hollywood waves.
Creating a Smooth Finish
Applying Smoothing Serum
To achieve a smooth and polished look for your Hollywood waves, it’s important to eliminate any frizz or flyaways. Applying a smoothing serum to your hair can help to control unruly strands and create a sleek finish. Start by taking a small amount of smoothing serum in your palms and running it through your hair, focusing on the lengths and ends. Avoid applying too much product at the roots, as it can weigh down your hair and make it appear greasy. This step will ensure your waves look effortlessly glamorous while maintaining a polished and sophisticated finish.
Using a Paddle Brush
When creating Hollywood waves, it’s essential to have a paddle brush on hand for the finishing touches. After applying the smoothing serum, gently brush through your hair using a paddle brush. This will help to distribute the product evenly and smooth out any remaining tangles or frizz. The paddle brush is also useful for gently brushing and shaping the waves, giving them a more polished and refined appearance. Be careful not to brush too aggressively, as this can disturb the wave pattern and cause the curls to loosen. A gentle brush through with a paddle brush is all you need to create that final smooth finish.
Finishing Touches
Applying a Shine Spray
To add that extra touch of Hollywood glamour to your waves, a shine spray is the perfect finishing touch. After brushing through your hair, lightly mist a shine spray over your waves for a glossy and radiant finish. The shine spray will not only enhance the shine of your hair but also help to lock in the style and keep your waves looking fabulous all day or night. Be cautious not to use too much product, as it can make your hair appear greasy or weigh it down. A light and even spritz is all you need to achieve that red carpet-worthy shine.
Using Hair Spray to Hold the Waves
To ensure your Hollywood waves stay in place for as long as possible, using a hairspray with a strong hold is essential. After applying the shine spray, mist a hairspray over your waves, holding the can about 12 inches away from your head. Focus on spraying the mid-lengths and ends of your hair to avoid weighing down the roots. A light misting of hairspray will help to set the waves and keep them intact throughout the day or night. Choose a hairspray that provides a strong hold but still allows for natural movement to maintain that glamorous Hollywood wave look.

Long-lasting Waves
Sleeping with Pin Curls
If you want your Hollywood waves to last beyond one day, consider sleeping with pin curls. After creating your waves with a curling iron and allowing them to cool, take small sections of hair and twist them into pin curls. Secure each pin curl with bobby pins and sleep in them overnight. In the morning, carefully remove the pins and gently tousle your hair with your fingers to create a soft and romantic wave pattern. Sleeping with pin curls helps to maintain the shape and longevity of your waves, ensuring they look fresh and glamorous for an extended period.
Maintaining the Waves with a Silk Scarf
To maintain the life and vibrancy of your Hollywood waves, consider tying your hair up with a silk scarf when you go to bed. Silk is a smooth and delicate fabric that helps to reduce friction and avoid tangles and frizz. Before bed, loosely tie your hair up in a high ponytail and wrap a silk scarf around it to secure it in place. This technique not only protects your waves while you sleep but also helps to preserve their shape and prevent any unwanted kinks or bends. When you wake up, simply remove the scarf and gently finger comb your hair to restore your glamorous waves.
Red Carpet Ready
Enhancing the Look with Accessories
To take your Hollywood waves to the next level of glamour, consider enhancing the look with accessories. Adding a statement hair clip or a bedazzled barrette to one side of your waves can instantly elevate your hairstyle and make it red carpet ready. Choose an accessory that complements your outfit and personal style, whether it’s something classic and elegant or bold and adventurous. The right accessory can add that extra touch of sparkle and sophistication, making your Hollywood waves the center of attention.
Adding a Touch of Glamour with Hair Jewelry
For a truly showstopping and glamorous Hollywood wave look, consider adding hair jewelry. Delicate hairpins, sparkling hairbands, or even a jeweled tiara can transform your waves into a dazzling masterpiece. Place the hair jewelry strategically throughout your waves, whether near the crown for a regal look or scattered throughout for a bohemian vibe. The choice of hair jewelry is entirely up to you and should reflect your personal style and the overall aesthetic you want to achieve. Adding hair jewelry will make your Hollywood waves shine even brighter and turn heads wherever you go.
Creating glamorous Hollywood waves is an art form that requires the right tools, techniques, and products. By choosing the right curling iron, using a heat protectant spray, and preparing your hair with proper washing and conditioning, you set the stage for perfect waves. Creating a base by sectioning your hair and using a curling iron allows you to create consistent and beautiful curls. Enhancing the waves by loosening them with fingers and separating them with a wide-tooth comb adds dimension and texture to the style. Adding volume and texture with backcombing and texturizing spray gives the waves that extra oomph. Taking the time to create a smooth finish with smoothing serum and a paddle brush ensures a polished and sophisticated end result. Applying a shine spray and hairspray adds the finishing touches by making the waves shine and keeping them in place. For long-lasting waves, sleeping with pin curls and using a silk scarf help to preserve the style overnight. And lastly, to elevate your Hollywood waves for a special occasion or red carpet event, enhancing them with accessories and hair jewelry adds that touch of glamour that makes heads turn. With the right techniques and a little bit of practice, you’ll be able to create glamorous Hollywood waves that will make you feel like a true movie star. So go ahead, grab your curling iron and unleash your inner glamour queen!