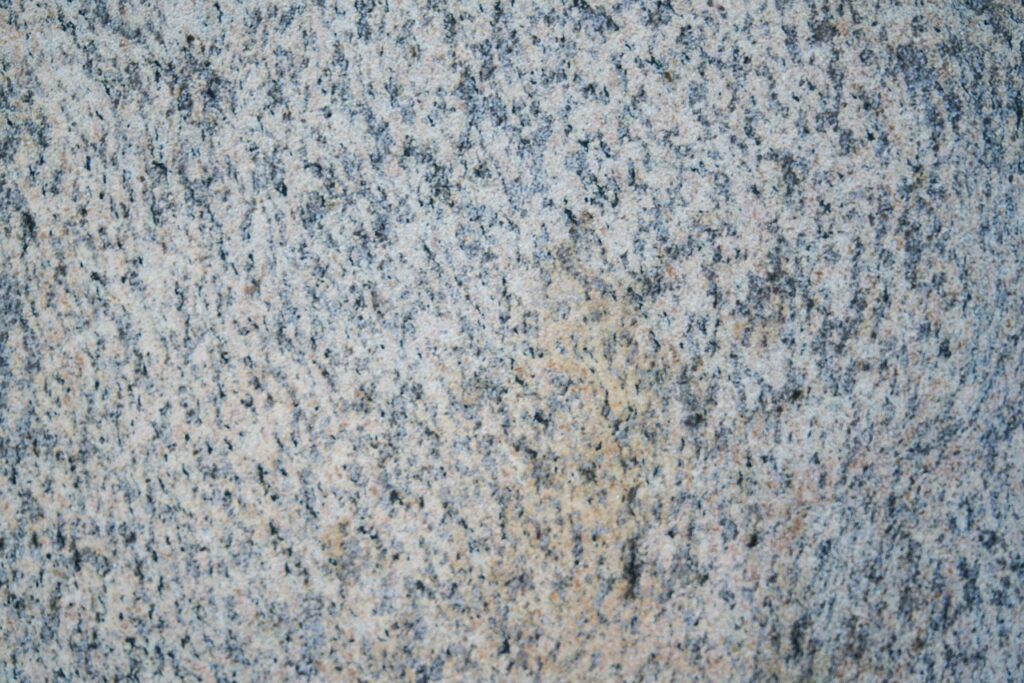
If you’ve ever wanted to achieve those stunning marble and granite nail designs that are all the rage right now, look no further! In this article, we’ll show you the steps to create this trendy look right at home. Whether you’re a nail art novice or a DIY expert, we’ve got you covered with easy-to-follow instructions and helpful tips. Get ready to turn heads with your fabulous marble and granite nails!

Hiring: Chat Job with FB Messenger $25/hour. See Requirements Now
Prep Your Nails
Before you dive into creating the beautiful marble and granite nail design, it’s important to prep your nails properly. Start by cleaning and shaping your nails to ensure they have a neat and tidy appearance. Use a nail file to shape them to your desired length and shape. This will ensure that your nails look polished and uniform.
Once your nails are shaped, it’s time to remove any old nail polish. Grab a non-acetone nail polish remover and a cotton ball, and gently wipe away the remnants of your previous manicure. This step is crucial to ensure that your new marble and granite nail design looks clean and flawless.
After removing the old nail polish, it’s essential to apply a base coat. A base coat not only protects your nails from staining, but it also creates a smooth canvas for the marble and granite design. Apply a thin layer of base coat and let it dry completely before moving on to the next steps.
Choose the Right Colors
Now that your nails are prepped and ready, it’s time to choose the perfect colors for your marble and granite nail design. Marble and granite patterns often consist of neutral and earthy tones, so opt for nail polishes that emulate the look of these natural stones.
Consider selecting marble and granite nail polishes that have a swirl or marbled effect. These polishes are specifically designed to create the stunning patterns reminiscent of marble and granite. Experiment with different color combinations to find the perfect blend that suits your style and preferences.
Additionally, it’s worth considering complementary color options to enhance the overall look of your marble and granite nails. For example, if you’ve chosen a white and gray marble pattern, a pop of gold or silver as an accent color can add a touch of elegance and sophistication.
Create Marble and Granite Designs
Now that you’ve prepped your nails and selected the ideal colors, it’s time to create the coveted marble and granite nail designs. There are various techniques you can use to achieve these patterns, so let’s explore a few popular methods.
Marble Nail Design
One popular technique for creating a marble nail design is the water marble technique. To begin, gather the necessary supplies, including a cup of room temperature water, toothpicks, and your marble nail polishes.
Prepare your work area by placing a towel or disposable surface to catch any spills or drips. Apply a base coat to protect your nails and let it dry completely. This step is crucial to ensure that the marble design adheres smoothly to the nails.
To create the marble pattern, start by dropping a few drops of your chosen marble nail polishes into the water. Use a toothpick to create swirls and manipulate the colors to your liking. Once satisfied with the pattern, dip your nails into the water, allowing the design to adhere to your nails. Carefully remove your fingers from the water and clean up any excess polish around your nails using a cotton swab dipped in nail polish remover.
Granite Nail Design
Another technique to achieve a stunning granite nail design is the dry marble technique. Gather the necessary supplies, including a makeup sponge, toothpicks, and your chosen granite nail polishes.
Prepare your work area once again and ensure your nails are protected with a base coat. Apply the granite nail polishes directly onto the makeup sponge, creating patches of color. Use a toothpick to blend and marble the colors on the sponge. Once the pattern is to your liking, gently press the sponge onto your nails, transferring the design. Clean up any excess polish around your nails using a cotton swab dipped in nail polish remover.
Using Water Marble Technique
The water marble technique is a popular method for creating beautiful marble nail designs. Let’s dive into the step-by-step process of achieving this stunning look.
Gather Supplies
To execute the water marble technique, you will need the following supplies:
- A cup of room temperature water
- Toothpicks
- Marble nail polishes
- Base coat
- Cotton swabs
- Nail polish remover
Prepare Your Work Area
Before you start the water marble technique, ensure that your work area is protected. Place a towel or disposable surface to catch any spills or drips. This will make cleanup easier and prevent any damage to your furniture or other surfaces.
Apply a Base Coat
To protect your nails and create a smooth canvas for the marble design, apply a thin layer of base coat. Allow the base coat to dry completely before moving on to the next steps.
Create the Marble Pattern
Drop a few drops of your chosen marble nail polishes into the cup of water. The polish will spread and form a colorful layer on the surface of the water. Use a toothpick to create swirls and manipulate the colors into a marble-like pattern. Experiment with different techniques such as dragging the toothpick through the polish or creating concentric circles to achieve different effects. Take your time to perfect the pattern and ensure that you’re satisfied with the appearance.
Dip Nails into the Marble Design
Once you’ve achieved your desired marble pattern, it’s time to dip your nails into the water. Position your finger above the water surface and gently submerge it, allowing the marble design to adhere to your nail. Hold your finger in the water for a few seconds, allowing the polish to fully transfer. Then, slowly remove your finger from the water, pulling it out at an angle to prevent any smudging or dragging of the design.
Clean Up Excess Polish
After removing your finger from the water, you may notice excess polish around your nails. Dip a cotton swab into nail polish remover and carefully clean up any stray polish from your skin or cuticles. This step will give your marble nail design a clean and polished look.

Using Dry Marble Technique
If you prefer a dry and mess-free approach to achieving a marble nail design, the dry marble technique is the perfect option for you. Here’s how you can create stunning marble nails using this method.
Gather Supplies
To execute the dry marble technique, you will need the following supplies:
- Makeup sponge
- Toothpicks
- Granite nail polishes
- Base coat
- Cotton swabs
- Nail polish remover
Prepare Your Work Area
As with any nail art technique, it’s important to protect your work area. Place a towel or disposable surface to catch any spills or drips. This will make cleanup easier and prevent any damage to your furniture or other surfaces.
Apply a Base Coat
Begin by applying a thin layer of base coat to your nails. This will protect your nails and create a smooth surface for the marble design to adhere to. Allow the base coat to dry completely before proceeding.
Create the Marble Pattern
To create the marble pattern, apply your chosen granite nail polishes directly onto the makeup sponge. Create patches of color, ensuring that the colors overlap slightly for a realistic granite effect. Use a toothpick to blend and marble the colors on the sponge. Experiment with different techniques such as dragging the toothpick through the polish or creating irregular shapes to mimic the look of granite.
Transfer the Design onto Nails
Once you’re satisfied with the marble pattern on the sponge, gently press the sponge onto your nails. Roll the sponge slightly to ensure that the design fully covers your nails. You may need to repeat this step a few times to achieve full coverage and vibrancy. Take your time and be patient to achieve the desired effect.
Clean Up Excess Polish
After transferring the design onto your nails, you might notice some excess polish around your nail bed. Use a cotton swab dipped in nail polish remover to clean up any stray polish. This will create a clean and polished look for your granite nail design.
Using Sponge Technique
For a unique and textured marble nail design, the sponge technique is a fantastic option. Here’s how you can achieve this trendy look using a simple sponge.
Gather Supplies
To execute the sponge technique for your marble nails, you will need the following supplies:
- Makeup sponge
- Toothpicks
- Marble nail polishes
- Base coat
- Cotton swabs
- Nail polish remover
Prepare Your Work Area
Before you begin, ensure that your work area is protected with a towel or disposable surface. This will catch any polish drips or spills and prevent any damage to your furniture or other surfaces.
Apply a Base Coat
Start by applying a thin layer of base coat to your nails. This will provide a smooth surface for the marble design and protect your nails. Allow the base coat to dry completely before moving on to the next steps.
Create the Marble Pattern on a Sponge
Take the makeup sponge and apply your chosen marble nail polishes directly onto it. Create patches of color, ensuring that they overlap slightly for a realistic marble effect. Use a toothpick to blend and marble the colors on the sponge. Experiment with different techniques, such as swirling the toothpick or creating irregular shapes, to mimic the natural patterns found in marble.
Stamp the Design onto Nails
Once you’re satisfied with the marble pattern on the sponge, gently press the sponge onto your nails. Roll the sponge slightly to ensure that the design fully covers your nails. Repeat this step for each nail, applying more polish to the sponge as needed. Take your time and ensure that each nail is stamped accurately and evenly.
Clean Up Excess Polish
After stamping the design onto your nails, you might notice some excess polish around your nail bed. Use a cotton swab dipped in nail polish remover to clean up any stray polish. This will give your marble nail design a clean and professional finish.

Using Nail Stamping Plates
Nail stamping plates are a fantastic tool for achieving intricate and detailed marble and granite nail designs. Let’s explore how you can use nail stamping plates to create an impressive manicure.
Gather Supplies
To use nail stamping plates for your marble and granite design, gather the following supplies:
- Nail stamping plate
- Stamper
- Scraper
- Nail polishes suitable for stamping
- Base coat
- Cotton swabs
- Nail polish remover
Prepare Your Work Area
Protect your work area by placing a towel or disposable surface. This will catch any polish drips or spills, preventing any damage to your furniture or other surfaces.
Apply a Base Coat
Begin by applying a thin layer of base coat to your nails. This step will protect your nails and provide a smooth surface for the nail stamping design to adhere to. Allow the base coat to dry completely before proceeding.
Apply Nail Polish onto Stamping Plates
Select your desired nail polish for stamping and apply it onto the desired pattern on the stamping plate. Use the scraper to remove any excess polish, leaving only the polish inside the pattern. Quickly press the stamper onto the pattern, transferring the design onto the stamper head.
Transfer the Design onto Nails
Align the stamper with your nail, ensuring that the design will be positioned correctly. Gently press the stamper onto your nail, lightly rolling it to transfer the design onto your nail. Repeat this step for each nail, applying more polish to the stamping plate as needed. Take your time and ensure that each nail is accurately and evenly stamped.
Clean Up Excess Polish
After transferring the design onto your nails, you might notice some excess polish around your nail bed. Use a cotton swab dipped in nail polish remover to clean up any stray polish. This will give your nail stamping design a clean and polished look.
Finishing Touches
To complete your marble and granite nail look, don’t forget to add the finishing touches.
Apply a Top Coat
After the marble or granite design has completely dried, apply a top coat to seal and protect the design. This will also give your nails a glossy and professional finish. Make sure to apply the top coat evenly, starting from the base of your nails and moving towards the tips.
Clean Up Any Mistakes or Smudges
Inspect your nails carefully and use a cotton swab dipped in nail polish remover to clean up any mistakes or smudges around your cuticles or skin. This will give your manicure a neat and precise appearance.
Moisturize Your Cuticles and Hands
Finally, don’t forget to moisturize your cuticles and hands. Regularly applying cuticle oil or hand cream will keep your nails and skin hydrated, preventing dryness and maintaining the longevity of your marble and granite nail look.
Maintenance and Longevity
To ensure that your marble and granite nail design lasts as long as possible, follow these maintenance tips:
Protect Your Nail Design
To protect your nail design, wear gloves when performing tasks that may chip or damage your nails. Tasks such as washing dishes, gardening, or cleaning can potentially harm the longevity of your manicure.
Avoid Activities That May Chip or Damage Your Nails
Similarly, try to avoid activities that may cause your nails to chip or become damaged. Activities like typing vigorously or opening cans with your nails can weaken the polish and shorten the lifespan of your marble and granite nail look.
Moisturize Daily
Moisturize your hands and cuticles daily to maintain the quality of your marble and granite nails. Apply cuticle oil or hand cream regularly to prevent dryness and keep your nails looking healthy and beautiful.
Removing the Marble and Granite Nail Look
When the time comes to remove your marble and granite nail look, follow these steps for a hassle-free process.
Gather Supplies
To remove your marble and granite nails, gather the following supplies:
- Acetone
- Cotton balls
- Foil or nail wraps
- Cuticle pusher
- Nail buffer
- Hand cream or cuticle oil
Soak Nails in Acetone
Soak a cotton ball in acetone and place it on your nail. Secure the cotton ball by wrapping a small piece of foil or using a nail wrap. Repeat this step for each nail.
Allow the acetone-soaked cotton balls to sit on your nails for approximately 10-15 minutes. This will help loosen the nail polish, making it easier to remove.
Gently Remove Remaining Polish
After the allotted time, gently remove the foil or nail wraps from each finger. Use a cuticle pusher or orangewood stick to gently scrape off any remaining polish. Be careful not to apply too much pressure to avoid damaging your nails.
Moisturize Your Nails
After removing the marble and granite nail polish, your nails may appear dry or stripped. To restore moisture and nourishment, apply a generous amount of hand cream or cuticle oil to your nails and cuticles. Massage the cream or oil into your skin for optimal absorption.
With these easy steps, you can safely and effectively remove your marble and granite nail look without any hassle or damage to your nails.
In conclusion, achieving the trendy marble and granite nail look requires some preparation and careful execution. By following the steps outlined in this comprehensive article, you’ll be able to create stunning marble and granite designs using various techniques such as the water marble technique, dry marble technique, sponge technique, and nail stamping plates. Remember to finish off your look with a top coat and maintain your nails by protecting them and moisturizing regularly. When it’s time for a change, follow the steps to gracefully remove your marble and granite nail design. Now, it’s time to unleash your creativity and have fun experimenting with different color combinations and patterns to create the perfect marble and granite nails.


