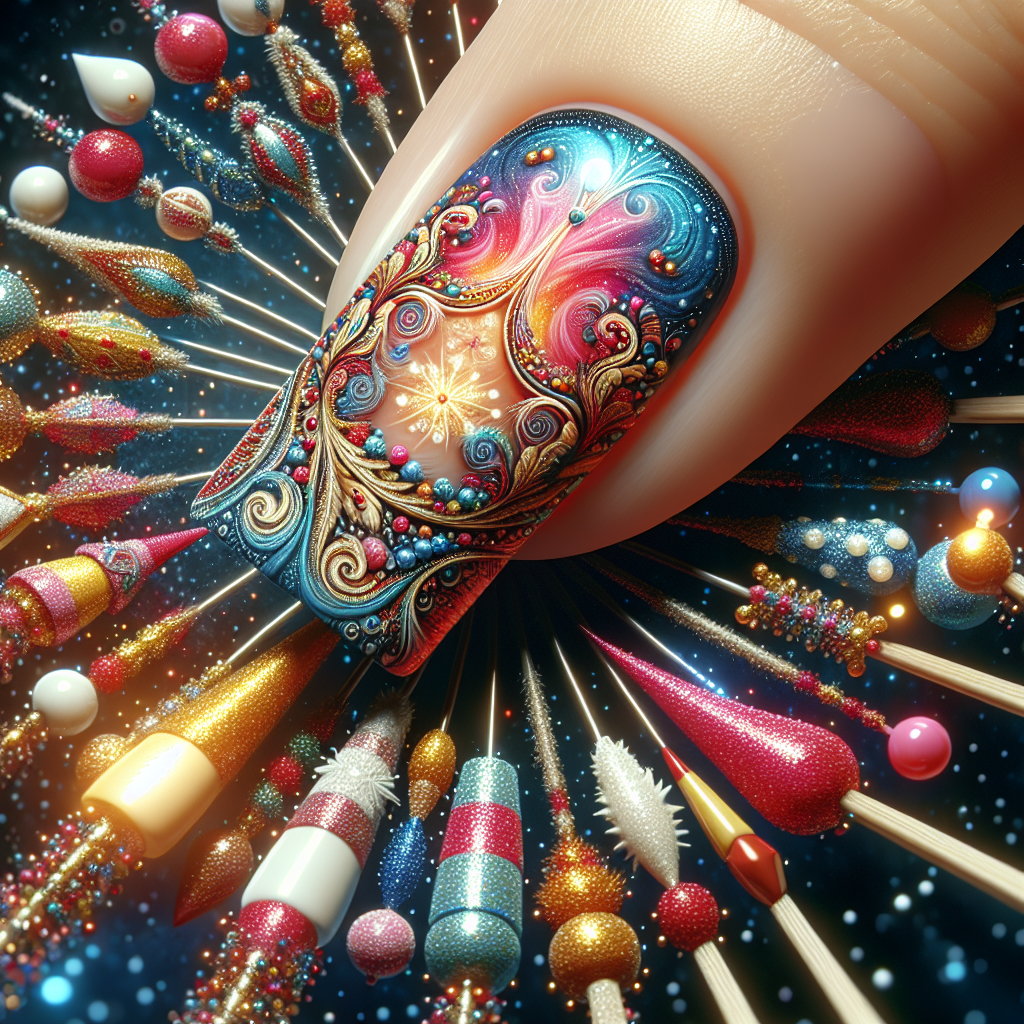
Get ready to add a festive touch to your nails! In this article, we will explore the exciting world of themed nail art for holidays and special occasions. Whether you’re celebrating Christmas, Valentine’s Day, or a birthday, we’ve got you covered with step-by-step instructions on creating eye-catching designs that will make your nails the life of the party. From intricate patterns to adorable symbols, get ready to unleash your creativity and take your nail game to a whole new level!
Hiring: Chat Job with FB Messenger $25/hour. See Requirements Now
Choosing a Theme
When it comes to creating themed nail art, one of the first things to consider is the holiday or occasion. The theme you choose will set the tone for your design and help you select the colors, symbols, and images to incorporate. Whether it’s Christmas, Valentine’s Day, Halloween, Easter, or the Fourth of July, each holiday has its own unique symbols and colors that you can draw inspiration from.
Another great way to choose a theme is to take inspiration from traditional symbols and colors associated with the holiday or occasion. For example, for Christmas, you can incorporate candy canes, snowflakes, and traditional red and green colors into your design. Similarly, for Valentine’s Day, heart patterns and romantic colors like red and pink can be used.
Lastly, think about your own personal interests or hobbies. If you have a particular hobby or interest, such as sports, music, or nature, you can create themed nail art that reflects your passion. This not only adds a personal touch to your design, but it also allows you to showcase something that you love.
Gathering the Necessary Supplies
To get started with themed nail art, you’ll need a few essential supplies. Different nail polish colors are a must-have to create the base color and any additional designs or patterns. It’s always a good idea to have a variety of colors on hand so that you can mix and match to create the perfect look.
In addition to nail polish, you’ll also need nail art tools such as dotting tools, brushes, and stencils. These tools will help you create intricate designs and patterns on your nails. Dotting tools are especially useful for creating dots of different sizes, while brushes can be used to paint more detailed designs. Stencils are great for creating consistent shapes and patterns.
To add extra flair to your nail art, gather some glitters, decals, and other decorative elements. Glitters can be used to create a sparkling effect or to add a touch of glamour to your design. Decals and stickers are easy to apply and can add intricate designs without the need for advanced nail art skills. Don’t be afraid to experiment with different decorative elements to make your nail art truly unique.
Lastly, make sure you have a top coat and base coat. A clear base coat will help protect your nails and create a smooth surface for your design. The top coat will seal in your design and provide a glossy finish, ensuring that your nail art stays intact for longer.
Preparing Your Nails
Before you start creating your festive nail art, it’s important to properly prepare your nails. Start by cleaning and shaping your nails to ensure they are neat and tidy. Use a nail file to shape your nails to your desired length and shape. Then, push back your cuticles gently using a cuticle pusher or a wooden stick.
Once your nails are cleaned and shaped, apply a clear base coat to protect your natural nails and create a smooth surface for the nail polish. Allow the base coat to dry completely before moving on to the next steps. It’s essential to let the base coat dry to prevent any smudging or smearing of your nail art design.
Creating a Festive Design
Now that your nails are prepped, it’s time to get creative and start creating a festive design. The possibilities are endless, so don’t be afraid to experiment with different patterns and shapes. You can use your dotting tools and brushes to create intricate designs such as flowers, geometric shapes, or even holiday-themed symbols.
For clean lines, you can use tape or guides to create straight edges or specific shapes. Place the tape or guide on your nails before applying the nail polish and remove it once the polish is dry. This technique will help you achieve precise and professional-looking lines in your design.
If you’re looking for a more gradient or ombre effect, you can try blending different nail polish colors together. Apply one color to the top or bottom of your nail and then use a sponge or a brush to blend it with another color. This technique adds depth and dimension to your design.
To enhance the festive feel of your nail art, incorporate themed symbols or images into your design. For example, for Christmas, you can paint candy canes, snowflakes, or Christmas trees on your nails. For Halloween, you can create spooky spiders or pumpkin faces. The options are endless, so let your creativity shine.
Adding Decorative Elements
To take your themed nail art to the next level, consider adding some decorative elements. There are various ways to do this, depending on your personal style and the design you’ve created.
One simple way to add a sparkling effect to your nail art is by applying glitters. You can either sprinkle loose glitters onto wet nail polish or use a glittery nail polish. This will instantly add a touch of glamour and make your design stand out.
Decals or stickers are another easy way to add intricate designs without the need for advanced nail art skills. Simply apply the decals or stickers onto your nails, and you instantly have a beautiful design. They come in various shapes, sizes, and styles, making it easy to find ones that match your theme.
For a more three-dimensional effect, experiment with rhinestones or beads. These tiny jewels can be attached to your nails using nail glue or added to wet nail polish. They add a touch of elegance and can be used to create stunning designs.
Don’t be afraid to play with different textures or finishes to add interest to your nail art. Matte top coats can give your design a chic and modern look, while a glossy top coat will enhance the vibrant colors. You can also try using textured nail polish, such as ones with a sand or glitter finish, to add dimension to your design.
Caring for Your Nail Art
Once you’ve created your themed nail art, it’s important to take care of it to ensure its longevity. Follow these tips to keep your nail art looking fresh and vibrant:
-
Allow the design to fully dry before engaging in any activities or tasks. Wet nail polish is prone to smudging and smearing, so be patient and give it enough time to dry completely.
-
Apply a top coat over your design to protect it from chipping and to make it last longer. The top coat will seal in your nail art and provide a glossy finish, enhancing the overall look.
-
Keep your nails moisturized by regularly applying cuticle oil. Cuticle oil not only keeps your cuticles healthy but also nourishes your nails and prevents them from becoming dry or brittle.
-
Avoid activities that may damage your nail art. Be mindful of tasks that involve excessive water exposure, harsh chemicals, or rough handling. Using gloves when doing household chores can help protect your nail art.
Removing the Nail Art
When the time comes to remove your themed nail art, follow these steps to do it safely and efficiently:
-
Gently file off the top layer of the design with a fine-grit nail file. This will help break the seal of the top coat and make the removal process easier.
-
Fill a bowl or container with nail polish remover and soak your nails in it for a few minutes. Nail polish remover with acetone works best for removing nail polish, but be cautious as it can be drying to your skin and nails.
-
Use a cotton pad soaked in nail polish remover to wipe away the remaining design. Apply gentle pressure and swipe the pad across your nails until all the polish is removed. Take care not to scrub too hard as this can damage your nails.
-
After removing the nail art, moisturize and condition your nails. Apply cuticle oil or a nourishing nail oil to replenish moisture and keep your nails healthy.
Specific Holiday Nail Art Ideas
Now that you have a good understanding of how to create themed nail art, let’s explore some specific ideas for different holidays and special occasions:
Christmas: Candy cane stripes and snowflakes
- For a festive Christmas nail art, combine red and white nail polish to create classic candy cane stripes.
- You can also paint little snowflakes on a blue or silver base to capture the winter wonderland spirit.
Valentine’s Day: Heart patterns and romantic colors
- Create a romantic look with heart patterns and delicate designs.
- Use shades of pink and red to represent love and passion.
Halloween: Spooky spiders and pumpkin faces
- Embrace the spooky side with nail art featuring spider webs, spiders, and pumpkin faces.
- Orange and black are the traditional colors associated with Halloween, so be sure to incorporate them into your design.
Easter: Pastel shades and cute bunny designs
- Easter-themed nail art can include pastel shades like pink, blue, and yellow to represent the season.
- Add cute bunny designs or little Easter eggs for an extra touch of whimsy.
Fourth of July: Patriotic flags and fireworks
- Show off your patriotic spirit with nail art featuring the American flag or fireworks.
- Incorporate red, white, and blue into your design for a truly festive look.
Different Occasion Nail Art
In addition to holiday-themed nail art, you can also create designs for various special occasions. Here are some ideas to inspire you:
Weddings: Elegant French manicure or floral accents
- For a wedding, you can opt for an elegant French manicure or soft and delicate floral accents.
- Pastel shades, white, and shimmering silver are ideal colors for a wedding-themed nail art.
Birthdays: Fun and colorful designs with balloons or cakes
- Celebrate birthdays with fun and colorful nail art featuring balloons, confetti, or birthday cake designs.
- Use vibrant shades and glittery accents to create a festive party look.
Graduations: School colors and graduation cap motifs
- Honor the graduate with nail art featuring their school colors and graduation cap motifs.
- Incorporate the colors of the graduate’s alma mater into the design for a personalized touch.
New Year’s Eve: Glittery nail art and champagne glasses
- Welcome the new year with glittery nail art and images of champagne glasses.
- Gold and silver are perfect colors for New Year’s Eve nail art, as they capture the festive atmosphere.
Anniversaries: Romantic rose petals or personalized initials
- Celebrate anniversaries with romantic nail art featuring rose petals or personalized initials.
- Soft shades of pink and red are ideal for creating a romantic and intimate atmosphere.
Sharing and Showcasing Your Nail Art
After creating your beautiful themed nail art, it’s time to share and showcase your creativity. Here are some tips on how to do it:
-
Take high-quality photos of your nail art. Good lighting and focus are essential to capture the details and colors of your design accurately.
-
Post your nail art on social media platforms and nail art communities. Share your design with others who have the same passion for nail art and engage in conversations about techniques and inspirations.
-
Participate in nail art challenges or collaborations. Joining challenges or collaborations organized by fellow nail art enthusiasts can help you push your creativity and connect with other artists.
-
Start your own nail art blog or YouTube channel. If you’re passionate about nail art and want to share your knowledge and experiences, consider starting your own blog or YouTube channel. You can create tutorials, review nail products, and interact with a community of nail art enthusiasts.
By following these steps and exploring different themes and designs, you can create beautiful and unique nail art for holidays and special occasions. Don’t be afraid to experiment and let your creativity shine. Whether you’re celebrating Christmas, Valentine’s Day, or any other special event, themed nail art is a fun and creative way to showcase your style and personality. Happy nail art designing!


