If you’ve ever wanted to add a touch of adventurous flair to your nails, then animal print and safari-inspired nail designs are the way to go. From leopard spots to zebra stripes, these fun and vibrant patterns will have your nails looking fierce and fabulous. In this article, we will explore different techniques and tools to help you achieve the perfect animal print and safari-inspired nail designs. Get ready to unleash your wild side and transform your nails into a safari oasis.
Hiring: Chat Job with FB Messenger $25/hour. See Requirements Now
Tools and Materials Needed
To create stunning animal print and safari-inspired nail designs, you will need the following tools and materials:
Base coat
Before you begin any nail design, it is essential to apply a base coat. This helps protect your nails from staining and also helps the nail polish adhere better.
Nail polish colors
Choose a variety of nail polish colors that will complement your desired animal print or safari-inspired design. Opt for shades that mimic the colors found in nature, such as earthy tones, vibrant oranges, deep greens, and rich browns.
Dotting tools
Dotting tools are essential for creating precise dots or patterns on your nails. These tools come in various sizes, allowing you to achieve different dot sizes and patterns.
Striping brush
A striping brush will come in handy when creating clean lines or intricate designs. Use this tool to draw thin lines or add details to your nail art.
Nail art brushes
Nail art brushes are versatile tools that can be used for various nail art techniques, such as creating freehand designs or adding more intricate details. Make sure to have a variety of brush sizes to suit your design needs.
Top coat
After completing your nail art, apply a top coat to protect the design and make it last longer. A top coat also adds shine and gives your nails a finished look.
Nail polish remover
To clean up any mistakes or remove your nail polish, you will need a good quality nail polish remover. Look for one that is acetone-free to prevent drying out your nails and cuticles.
Cotton swabs
Cotton swabs are essential for minor touch-ups and cleaning up any excess nail polish or smudges around your nails.
Preparation
Before you dive into creating your animal print or safari-inspired nail designs, it’s important to properly prepare your nails. Follow these steps for a flawless canvas:
Remove any existing nail polish
Start by removing any existing nail polish from your nails using a cotton pad soaked in nail polish remover. Make sure to completely clean the nail surface to ensure the new design adheres properly.
Trim and shape your nails
Next, trim your nails to your desired length and shape them using a nail file. Whether you prefer square, round, or almond-shaped nails, make sure they are filed into a neat and uniform shape.
Push back cuticles
Gently push back your cuticles using a cuticle pusher or wooden stick. This step helps create a clean and polished look by exposing more of your nail bed.
Apply a base coat
To protect your natural nails and ensure your nail polish lasts longer, apply a thin layer of base coat. Allow it to dry completely before moving on to the next steps.
Animal Print Nail Design
Now that your nails are prepped and ready, let’s dive into creating some fabulous animal print nail designs:
Choose your preferred animal print
Animal prints are trendy and versatile, offering a range of options to suit your style. Leopard, zebra, snakeskin, and giraffe prints are popular choices. Choose the one that appeals to you the most and matches your overall aesthetic.
Apply a base color
Start by applying a base color that complements your chosen animal print. For example, if you’re going for a leopard print, opt for a neutral base color such as beige or light brown. Allow the base color to dry completely before moving on to the next steps.
Creating Leopard Print
To create a leopard print design, you can use either a dotting tool or a nail art brush. Dip the tool or brush into a contrasting color, such as black or dark brown, and create irregular spots on your nails. Remember, leopard print is all about random spots and asymmetry, so don’t worry about perfection!
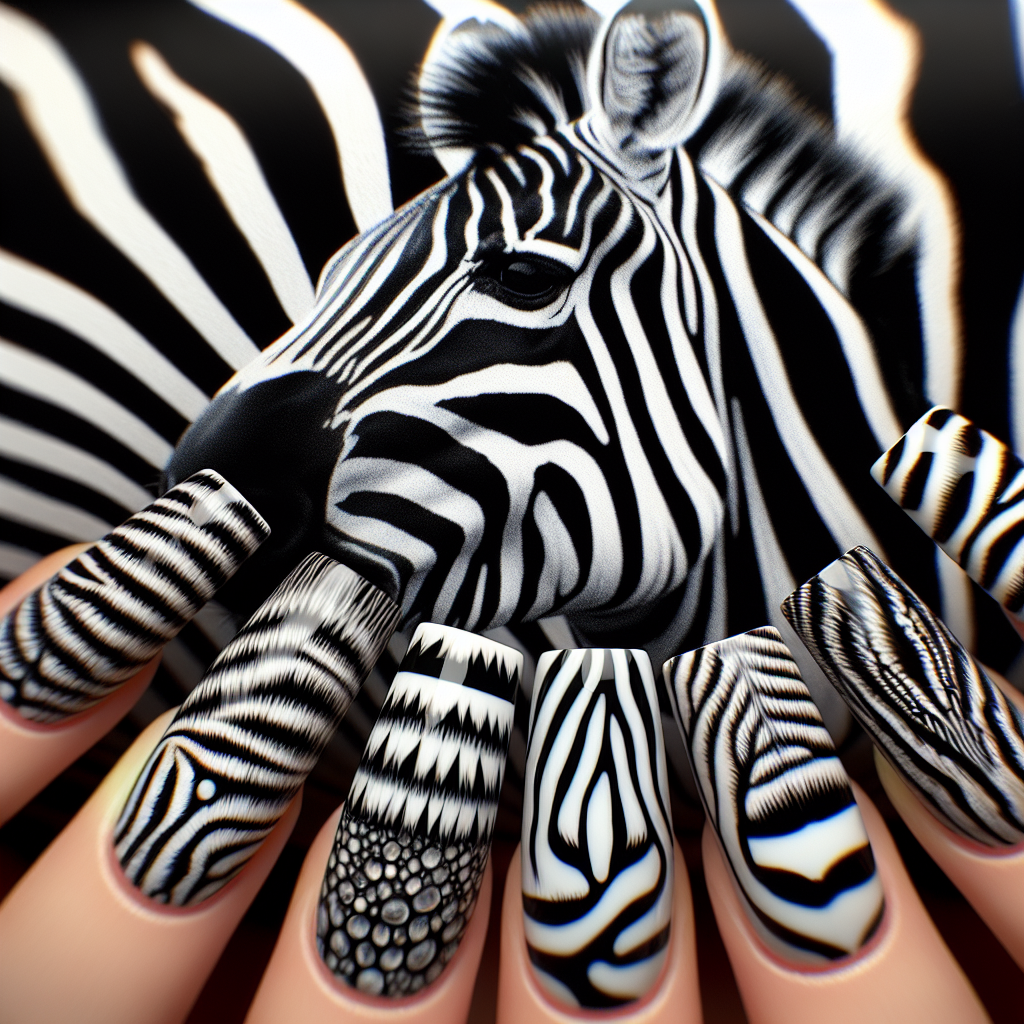
Creating Zebra Print
For a trendy zebra print, start by painting your nails with a white or off-white base color. Once dry, use a striping brush dipped in black nail polish to create vertical lines across your nails. Make sure the lines are thin and evenly spaced. Zebra print is minimalist and elegant, so keep the design simple.
Creating Snakeskin Print
Snakeskin prints can be achieved with a nail art brush and a few earthy-toned nail polishes. Start by painting your nails with a base color that resembles snakeskin, such as a light taupe or a warm brown. Then, use a brush dipped in a darker shade of brown to create irregular, scale-like shapes on your nails. Experiment with different brush strokes to achieve a realistic snakeskin look.
Creating Giraffe Print
To create a giraffe print, choose a base color that resembles a giraffe’s spots, such as light yellow or caramel brown. Once dry, use a dotting tool or a nail art brush to create irregular, elongated spots with a darker shade of brown. Giraffe print is all about elongated spots, so feel free to play around with different sizes and shapes.
Safari-inspired Nail Design
If you’re looking to channel the adventurous spirit of a safari, these nail designs will transport you to the wild:
Choose colors inspired by the safari
When creating safari-inspired nail designs, opt for colors that represent the beauty of nature. Earthy tones like khaki, olive green, sandy beige, and burnt orange will perfectly capture the essence of a safari.
Creating Safari Sunset
Start by applying a base color inspired by the colors of a sunset, such as a warm orange or pinkish hue. Once dry, use a sponge to create a gradient effect by lightly dabbing a contrasting color, such as deep purple or dark blue, on the tips of your nails. This will mimic the stunning hues of a safari sunset.
Creating African Safari Silhouette
For an elegant and sophisticated nail design, create a silhouette of an African animal against a vibrant sunset background. Start by applying a base color that represents the sky during sunset, such as orange or deep purple. Once dry, use a nail art brush or a fine-tipped brush to paint the silhouette of an animal like a lion, elephant, or giraffe using black nail polish. This design will showcase the beauty of African wildlife.
Creating Palm Tree Design
To add a tropical touch to your safari-inspired nail design, create palm trees on your nails. Start by applying a sandy beige or khaki base color to represent the desert. Once dry, use a nail art brush to paint thin lines in brown or black to form the trunk of the palm tree. Add a few curved lines at the top of the trunk to create the palm fronds. This design will transport you to a lush oasis within the safari.
Creating Animal Print Gradient
Combine the elegance of animal print with the vibrant colors of a safari with a gradient design. Apply a light base color and allow it to dry completely. Once dry, create a gradient effect by layering different animal print patterns in various colors. For example, you can start with a giraffe print in beige at the base of your nails, transition to a zebra print in black and white in the middle, and finish with a leopard print in brown and black on the tips. This design showcases the diverse wildlife of a safari.

Finishing Touches
After creating your animal print or safari-inspired nail designs, it’s time to add the finishing touches:
Add a top coat
To protect your nail art and make it last longer, apply a layer of top coat. This will seal in your design, add shine, and prevent chipping.
Clean up any mistakes
Use a cotton swab dipped in nail polish remover to clean up any mistakes or excess nail polish around your nails. This will give your manicure a clean and polished look.
Moisturize your hands and cuticles
Finish off your nail art session by moisturizing your hands and cuticles. Massage a hydrating hand cream into your skin to keep your hands soft and supple. Don’t forget to pay attention to your cuticles to prevent them from drying out.
Maintenance and Removal
To ensure your nail art lasts as long as possible and to properly remove it when desired, follow these tips:
Protect your nail art
To protect your nail art from chipping or fading, avoid exposure to harsh chemicals and excessive water. Wear gloves when doing household chores or gardening to prevent damage to your manicure.
Touch up any chipped areas
If you notice any chipped areas, you can touch them up using the same nail polish colors and tools. Simply recreate the design or fix any imperfections to restore the beauty of your nail art.
Remove nail polish properly
When it’s time to remove your nail polish, soak a cotton pad with nail polish remover and press it onto your nail for a few seconds. Then, gently swipe the cotton pad in an upward motion to remove the nail polish. Repeat this process for each nail until all the polish is gone. Follow up with moisturizing your hands and cuticles to replenish moisture.
With the right tools, preparation, and creativity, you can easily achieve stunning animal print and safari-inspired nail designs. So let your imagination roam free and have fun creating your own unique nail art!


