Looking to add a touch of creativity to your nail game? Look no further! In this article, we will explore the fascinating world of abstract and artsy nail designs. From bold colors and geometric patterns to intricate brush strokes and unique textures, we will provide you with simple yet effective techniques to create eye-catching nail art that will surely make a statement. So, grab your favorite nail polishes and let your imagination run wild as we embark on a journey to showcase your inner artist through the tips of your fingers. Get ready to elevate your nail game to a whole new level!

Hiring: Chat Job with FB Messenger $25/hour. See Requirements Now
Choosing the Right Tools and Materials
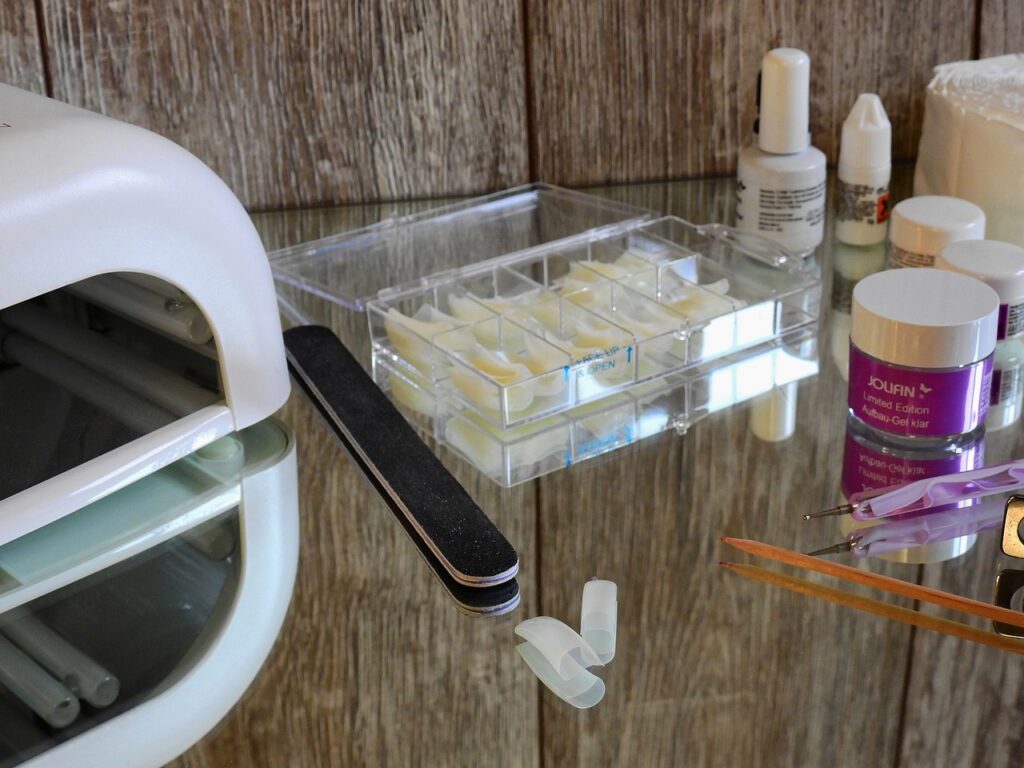
When it comes to creating abstract nail art, having the right tools and materials is essential. Here are some key items you’ll need to gather before getting started:
Gathering the Necessary Nail Art Supplies
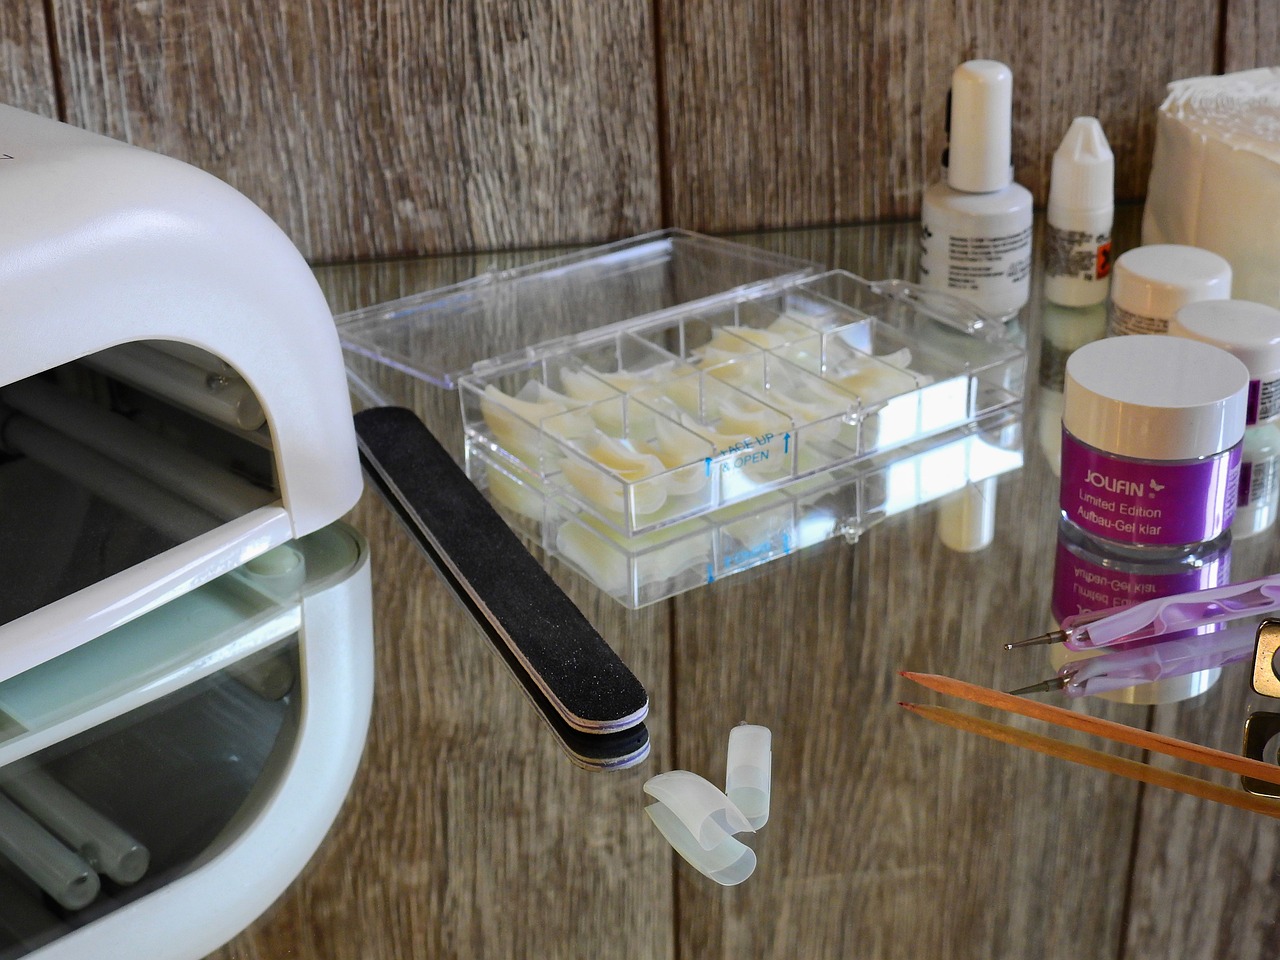
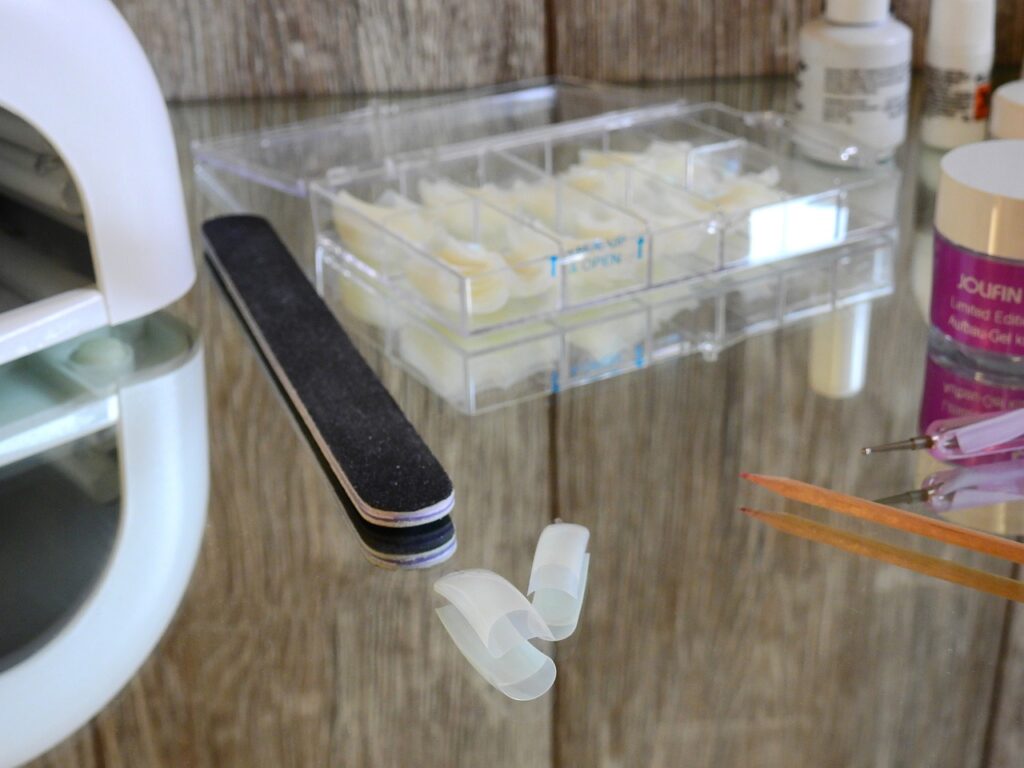
To create abstract nail designs, you’ll need a few basic nail art supplies. Start by collecting a variety of nail polishes in different colors. It’s best to have a range of shades, including both bright and pastel colors, as well as some metallic or glitter options for added flair.
You’ll also need a base coat and top coat to ensure your nail art lasts longer and stays protected. A good quality brush is crucial for creating precise lines and intricate details, so invest in a set of nail art brushes that offer different brush sizes and shapes.
Additionally, consider purchasing nail art tools such as dotting tools, striping tapes, and nail stencils. These tools will help you achieve various effects and patterns in your abstract nail art.
Preparing Your Nails
Before starting any nail art design, it’s essential to prep your nails properly. Begin by removing any old nail polish and shaping your nails to your desired length and shape. Use a nail file to smooth any rough edges and shape them evenly.
To ensure your nail art adheres well and lasts longer, clean your nails with nail polish remover or rubbing alcohol to remove any oils or residue. This will create a clean canvas for your abstract design, allowing the polish to adhere properly.
Finally, apply a base coat to your nails. This will not only protect your nails but also provide a smooth surface for your nail art. Let the base coat dry completely before moving on to the next steps.
Protecting Your Work Area
When creating abstract nail art, it’s important to protect the surface you’re working on. Lay down a protective tablecloth or use a disposable workspace, like a plastic sheet or old newspaper. This will prevent any nail polish or art supplies from damaging your table or countertop.
Consider having acetone or nail polish remover on hand to clean up any accidental spills or mistakes. It’s always better to be prepared and avoid any potential damage to your work area.
Basic Techniques for Abstract Nail Art
Once you have all the necessary tools and materials ready, it’s time to explore some basic techniques for creating abstract nail art. These techniques will serve as a foundation for more advanced designs. Here are a few techniques to get you started:
Creating Gradient Effects
Gradient effects can add depth and dimension to your abstract nail designs. To create a gradient effect, start by selecting two or more nail polish colors that blend well together. Apply a base color and let it dry completely. Then, using a makeup sponge or a dedicated nail art sponge, apply small sections of each color on the sponge and gently dab it onto your nails. This will create a seamless gradient effect.
Experiment with different color combinations and positioning on your nails to achieve unique and eye-catching looks.
Using a Sponge for Textured Designs
Sponges can also be used to create textured designs on your nails. To achieve this effect, cut a small section from a makeup sponge and dip it into a nail polish color of your choice. Dab the sponge lightly onto your nails, creating a random pattern. This technique is great for creating abstract textures and adding visual interest to your nail art.
Feel free to experiment with different sponge sizes and densities to achieve different textures and finishes.
Marbling Techniques
Marbling is a popular technique in abstract nail art that creates a swirling, marble-like effect on your nails. To achieve this look, start by dropping small amounts of different nail polish colors onto a marble base. Use a toothpick or a thin nail art brush to swirl the colors together gently. Once you achieve the desired marbled effect, dip your nails into the water surface, allowing the design to transfer onto your nails. Clean up any excess polish around your cuticles using a cotton swab dipped in nail polish remover. Finish with a top coat to seal in the design and add shine.
Experiment with different color combinations and swirling patterns to create your own unique marbled nail art designs.
Advanced Techniques for Abstract Nail Art
Once you have mastered the basic techniques, you can move on to more advanced techniques to elevate your abstract nail art even further. Here are a few techniques to explore:
Creating Geometric Designs
Geometric designs are a great way to add a modern and edgy touch to your abstract nail art. Start by applying a base color and let it dry completely. Then, using striping tapes or nail art brushes, create straight lines, triangles, squares, or any other geometric shapes on your nails. Fill in the shapes with different nail polish colors to create a bold and graphic design.
You can also experiment with negative space in your geometric designs, leaving some areas of your nails unpainted to create an interesting contrast.
Mixing and Matching Patterns
Another way to take your abstract nail art to the next level is by mixing and matching patterns. Combine different patterns such as stripes, dots, chevron, and swirls to create an eclectic and visually appealing nail design. Use striping tapes, dotting tools, and nail art brushes to achieve precise and intricate patterns.
Don’t be afraid to play with different scales and colors when mixing and matching patterns. The key is to have fun and let your creativity run wild.
Creating Negative Space
Negative space nail art is a minimalist technique that focuses on leaving areas of your nails unpainted, creating a striking contrast between the painted and unpainted sections. This technique can be as simple as leaving a small strip of your natural nail exposed or as intricate as creating abstract cutouts or negative space shapes.
To achieve negative space designs, start by applying a base coat and letting it dry. Then, using striping tapes or nail art brushes, create the desired negative space pattern on your nails. Make sure to seal the design with a top coat for longevity and protection.
Experimenting with Colors and Finishes
One of the most exciting aspects of abstract nail art is the ability to experiment with different colors and finishes. Here are a few ideas to inspire your color palette and finish choices:
Exploring Color Combinations
When creating abstract nail art, don’t be afraid to mix and match different colors. Experiment with complementary colors, analogous colors, or even monochromatic color schemes to create visually striking designs. Consider using contrasting colors like blue and orange or experimenting with pastel shades for a softer and more delicate look.
Remember, abstract art is about expressing your creativity, so feel free to break traditional color rules and try something unexpected.
Playing with Different Patterns and Shapes
In addition to color, patterns and shapes are essential elements in abstract nail art. Mix different patterns such as chevrons, stripes, splatters, or dots to create visually dynamic designs. Play with shapes like circles, triangles, or even abstract forms for a more avant-garde look.
Combining different patterns and shapes will give your nail art a unique and artistic touch.
Adding Dimension with Embellishments
Embellishments can add an extra layer of dimension and texture to your abstract nail art. Consider adding rhinestones, studs, glitter, or microbeads to create eye-catching details. Apply a small amount of nail glue or clear top coat to adhere the embellishments onto your nails.
Be mindful of the placement and balance of the embellishments, as too much can overwhelm the design. Use them strategically to enhance the overall look of your abstract nail art.
Incorporating Artistic Elements
Take your abstract nail art to the next level by incorporating artistic elements. Here are a few ideas to inspire you:
Painting Miniature Art on Nails
If you have a knack for painting, try creating miniature art on your nails. Use thin brushes and acrylic paints to paint tiny abstract designs, landscapes, or even portraits on each nail. This technique allows you to showcase your artistic skills and create truly unique and personalized nail art.
Remember to apply a top coat to protect your miniature art and make it last longer.
Using Nail Stickers or Stencils
For those who want to achieve intricate designs without the steady hand required for painting, nail stickers or stencils are the perfect solution. There is a wide variety of pre-made nail stickers and stencils available in different shapes, patterns, and designs. Simply apply them onto your nails and seal with a top coat for a professional finish.
Nail stickers and stencils are a quick and easy way to achieve elaborate and detailed designs, even if you’re a beginner.
Creating Nail Art with Acrylic Paints
Acrylic paints offer a versatile and vibrant medium for creating nail art. They can be easily mixed, diluted, and layered to create interesting textures and effects. Use nail art brushes or even small paintbrushes to apply acrylic paints directly onto your nails.
Experiment with different techniques such as dry-brushing, stippling, or splattering to achieve unique and abstract looks. Don’t forget to seal your acrylic painted designs with a top coat to protect them and extend their longevity.
Creating Abstract Nail Art Themes
Abstract nail art themes can help give your designs a cohesive and artistic look. Here are a few themes to inspire your abstract nail art creations:
Abstract Nature-Inspired Designs
Nature-inspired abstract nail art can take many forms, from incorporating organic patterns and colors to creating designs inspired by plants, flowers, or landscapes. Explore the beauty of nature and translate it into your nail art designs. Experiment with earthy tones, floral motifs, or even abstract representations of natural elements.
Abstract nature-inspired designs can bring a sense of tranquility and beauty to your nails.
Abstract Pop Art-Inspired Designs
Pop art is characterized by bold, vibrant colors and graphic patterns. Use this inspiration to create abstract nail art that reflects the energy and excitement of pop art. Experiment with bright primary colors, comic book-inspired patterns, and bold geometric shapes.
Abstract pop art-inspired designs are perfect for those who want to make a bold and modern statement with their nails.
Abstract Watercolor-Inspired Designs
Watercolor-inspired abstract nail art can evoke a sense of softness, transparency, and fluidity. Use pastel colors and delicate brushstrokes to create dreamy and ethereal designs. Experiment with blending different shades and subtly layering colors to achieve watercolor-like effects.
Abstract watercolor-inspired designs are perfect for those who want a delicate and artistic look for their nails.
Step-by-Step Tutorials for Abstract Nail Art
To help you get started, here are a few step-by-step tutorials for creating abstract nail art designs:
Simple Abstract Nail Art Tutorial
- Start by applying a base coat to protect your nails.
- Choose a few nail polish colors for your design.
- Paint each nail with a different color, creating a random pattern.
- Use a thin brush or dotting tool to add small dots or stripes in a contrasting color.
- Allow the design to dry completely.
- Finish with a top coat to seal and protect your nail art.
Abstract Galaxy Nail Art Tutorial
- Apply a base coat to your nails and let it dry.
- Apply a dark blue or black nail polish as your base color.
- Use a makeup sponge to dab small sections of different shades of blue, purple, and pink onto your nails.
- Gradually build up the colors, allowing them to blend and create a galaxy effect.
- Use a small brush or dotting tool to add white dots or stars to your design.
- Finish with a top coat to seal and protect your galaxy-inspired nail art.
Abstract Floral Nail Art Tutorial
- Apply a base coat and let it dry.
- Choose a few nail polish colors for your floral design.
- Paint each nail with a different color, creating a random pattern.
- Use a thin brush to create abstract floral shapes, such as petals or blooms, in a contrasting color.
- Add smaller details like dots or lines to enhance the floral design.
- Finish with a top coat to seal and protect your abstract floral nail art.
Maintaining and Protecting Your Abstract Nail Art
Once you have created your abstract nail art, it’s important to properly maintain and protect it to ensure longevity. Here are a few tips to help you care for your nail art:
Applying a Top Coat for Longevity
After completing your abstract nail art design, apply a high-quality top coat to seal in the colors and protect the design from chipping or peeling. A top coat will provide an extra layer of protection and make your nail art last longer.
Remember to reapply the top coat every few days to maintain the shine and protect your nails from everyday wear and tear.
Caring for Your Nail Art
To ensure the longevity of your nail art, it’s important to take care of your nails. Avoid using your nails as tools, such as opening cans or scratching surfaces, as this can damage the design. Wear gloves when doing household chores or activities that may expose your nails to harsh chemicals or excessive moisture.
Moisturize your hands and cuticles regularly to keep them healthy and prevent your nail art from drying out or cracking. Use cuticle oil or hand cream to nourish your nails and keep them looking their best.
Removing Nail Art without Damaging Your Nails
When it’s time to remove your abstract nail art, it’s crucial to do so carefully to avoid damaging your nails. Begin by gently filing off the top layer of your nail art using a fine-grit nail file. This will help the acetone or nail polish remover penetrate the layers more effectively.
Soak a cotton pad or cotton ball in acetone or nail polish remover and place it on your nails. Wrap each nail with aluminum foil or use acetone-soaked nail wraps to secure the cotton pad in place. Let it sit for about 10-15 minutes to allow the product to dissolve the nail art.
Afterward, gently slide off the remaining nail art using an orange stick or a cuticle pusher. If there are any stubborn remnants, use a bit of acetone on a cotton swab to remove them. Finally, apply cuticle oil or a nourishing hand cream to rehydrate your nails and cuticles.
Inspiration and Ideas for Abstract Nail Art
Sometimes, the hardest part of creating abstract nail art is coming up with ideas. Here are a few ways to find inspiration and spark your creativity:
Exploring Online Nail Art Communities
There are many online nail art communities, forums, and social media platforms where nail artists from around the world share their creations. Take some time to explore these communities, follow nail art blogs, and engage with fellow nail art enthusiasts. You’ll likely find endless inspiration and get ideas for your next abstract nail art designs.
Looking for Inspiration in Fashion and Art Trends
Fashion and art trends can provide a wealth of inspiration for abstract nail art. Look for patterns, colors, and textures that resonate with you. Take note of the latest runway shows, exhibitions, or even street art. These sources can help you tap into current trends or explore timeless artistic influences.
Creating Unique Designs by Mixing Styles and Techniques
Feel free to mix different styles and techniques to create your own unique abstract nail art designs. Combine elements from various nail art trends or experiment with unconventional color choices and finishes. The key is to let your imagination guide you and embrace your own creative voice.
Expressing Your Creativity through Abstract Nail Art
Abstract nail art is a wonderful form of self-expression. Here are a few ways to unleash your creativity and make your abstract nail designs truly unique:
Embracing Unconventional Color Choices
Experiment with colors that are not typically associated with nail art. Play with unusual combinations, such as pairing a deep navy blue with a vibrant orange or using metallic shades for an unexpected twist. Embracing unconventional color choices will elevate your abstract nail art and make it stand out.
Experimenting with Abstract Shapes and Forms
Abstract nail art allows you to break free from traditional shapes and forms. Play with asymmetrical designs, organic shapes, or even irregular patterns. Let go of realism and embrace the freedom of abstract expression. The more you experiment, the more unique and artistic your nail designs will become.
Adding Personal Touches to Your Nail Designs
Make your abstract nail art truly personal by adding small touches that reflect your personality or interests. It could be a tiny symbol, a letter, or a color that holds a special meaning to you. These personal touches will make your nail art not only visually striking but also deeply meaningful to you.
Abstract nail art is a wonderful way to explore your creativity and showcase your unique style. With the right tools, techniques, and inspiration, you can create stunning and artistic designs that reflect your personality. So, gather your supplies, follow these tips and tutorials, and let your imagination soar as you create your own abstract nail art masterpieces.
