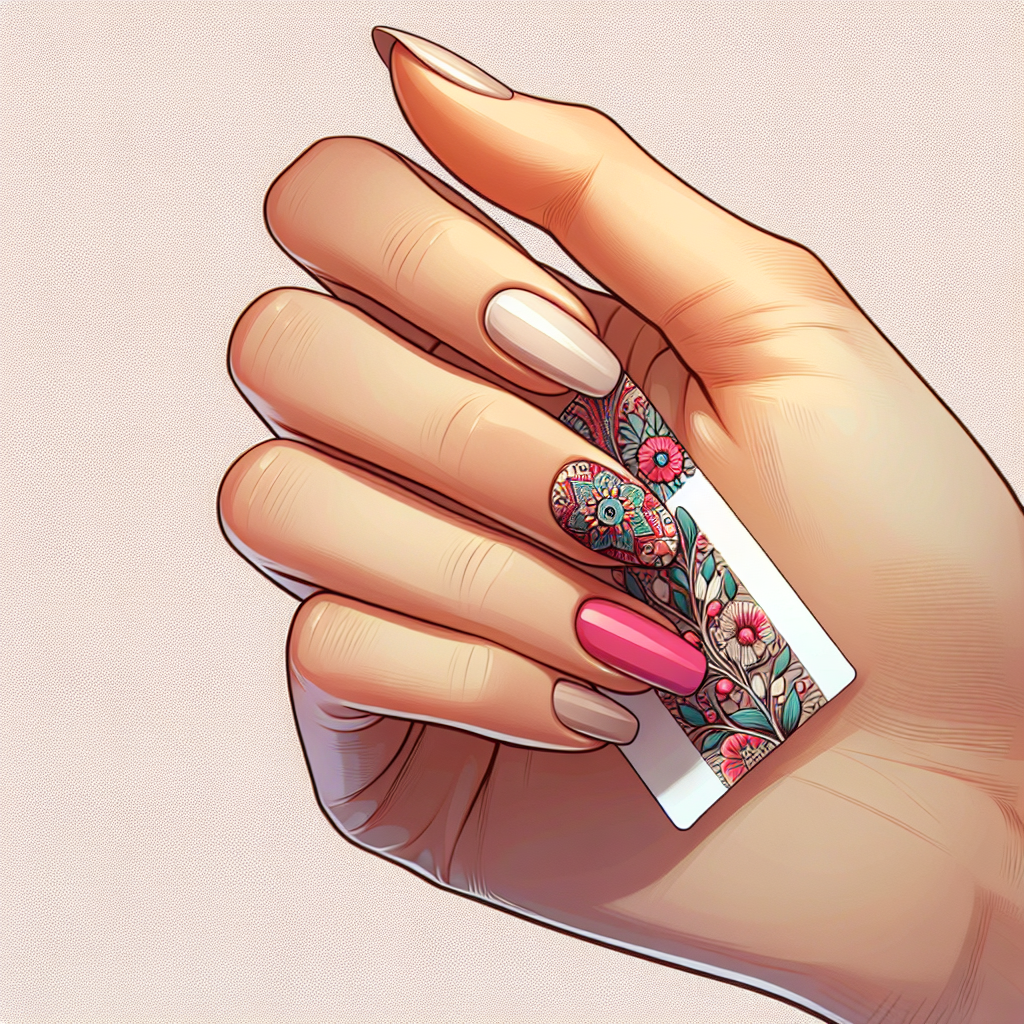
If you’re looking to add some fun and vibrant designs to your nails without the hassle of intricate nail art, nail stickers might just be the perfect solution for you. Applying nail stickers is a quick and easy way to achieve eye-catching nail designs without the need for fancy tools or artistic skills. Whether you’re a nail art novice or a seasoned pro, this article will guide you through the simple steps to apply nail stickers effortlessly and achieve stunning nail art in no time. Say goodbye to smudged polish and hello to flawless nail designs with the help of nail stickers!
Hiring: Chat Job with FB Messenger $25/hour. See Requirements Now
Choosing the Right Nail Stickers
When it comes to choosing the right nail stickers, one of the first things you should consider is the design. Nail stickers come in a wide variety of designs, from simple patterns to intricate artwork. Think about what you want your nails to look like and choose a design that matches your personal style and preferences. Whether you prefer floral designs, geometric patterns, or sparkly designs, there is a nail sticker out there for you.
Another important factor to consider is the size of the nail stickers. Make sure to select the right size that will fit your nails perfectly. You don’t want the stickers to be too big or too small, as it may affect the overall look of your manicure. Most nail stickers will indicate the size on the packaging, so be sure to check before making a purchase.
Lastly, always check the quality of the nail stickers before buying them. Look for stickers that are made of high-quality materials and have a strong adhesive. You want them to last long and not peel off easily. Additionally, ensure that the design is well-printed and the colors are vibrant. By choosing high-quality nail stickers, you can achieve a professional-looking manicure that will last.
Preparing Your Nails
Before applying nail stickers, it is essential to prepare your nails to ensure a smooth and long-lasting application. Follow these steps to properly prepare your nails:
-
Clean and Dry Your Nails: Start by thoroughly cleaning your nails with nail polish remover to remove any oils or residues. This will help the stickers adhere better to your nails. Make sure your nails are completely dry before moving on to the next step.
-
Shape and Buff Your Nails: Use a nail file to shape your nails to your desired length and shape. Gently file the edges to smooth out any roughness. Next, use a nail buffer to gently buff the surface of your nails. This will create a smooth, even surface for the stickers to adhere to.
-
Apply Base Coat: Applying a base coat before applying the nail stickers can help prolong their longevity. The base coat acts as a protective layer and also provides a smoother surface for the stickers. Allow the base coat to dry completely before proceeding to the next step.
Applying the Nail Stickers
Now that your nails are properly prepared, it’s time to apply the nail stickers. Follow these steps for a seamless application:
-
Start with a Flat Surface: Make sure your nails are clean and free from any oils or residues. A flat surface will ensure that the stickers adhere smoothly without any bumps or bubbles.
-
Peel Off the Sticker: Carefully peel off the nail sticker from its backing using tweezers or your fingertips. Be cautious not to stretch or damage the sticker during this process.
-
Place the Sticker on the Nail: Gently place the sticker on your nail, starting from the base near the cuticle and pressing it down towards the tip. Ensure that the sticker aligns with the shape of your nail.
-
Smooth Out the Sticker: Use a clean fingertip or a cuticle pusher to smooth out any air bubbles or wrinkles. Start from the center and gently press outward towards the edges.
-
Trim Excess Sticker: Once the sticker is securely applied, use a nail clipper or small scissors to trim any excess sticker that extends beyond the edge of your nail. This will give your manicure a neat and polished look.
-
Apply Top Coat: To seal and protect the nail sticker, apply a top coat over your entire nail. This will help the sticker adhere better and also prolong its longevity. Allow the top coat to dry completely.
Tips and Tricks
Here are some tips and tricks to enhance your nail sticker application and create stunning designs:
-
Use a Toothpick for Precision: If you’re working with small nail stickers or intricate designs, use a toothpick to carefully place and adjust them. The narrow tip of a toothpick allows for precise control.
-
Apply Heat to Adhere Better: If you’re finding it difficult to make the nail sticker adhere smoothly, gently warm it with a hairdryer or by rubbing it between your fingers. The heat will soften the adhesive, making it easier to stick to your nails.
-
Use a Nail File for Finishing Touches: After applying the nail stickers, use a nail file to gently buff the edges for a seamless finish. This will remove any excess sticker and give your manicure a professional look.
-
Experiment with Layering: Get creative and try layering different nail stickers to create unique designs. Play with colors, patterns, and textures to add depth and dimension to your nails.
-
Try Different Arrangements: Don’t be afraid to experiment with different arrangements of nail stickers. You can apply them diagonally, vertically, or even in a checkerboard pattern. Let your creativity shine!
Getting Creative with Nail Stickers
Nail stickers offer endless possibilities for creativity and customization. Here are some ideas to inspire your nail art:
-
Mix and Match Stickers: Combine different nail sticker designs to create a mix and match manicure. You can alternate between different patterns or create a cohesive look by using stickers in the same color palette.
-
Combine with Nail Polish: Nail stickers can be used in combination with nail polish to create unique designs. Apply a base color of nail polish and then add the stickers as accents or focal points. This will give your manicure a dynamic and eye-catching look.
-
Add Embellishments: Take your nail art to the next level by adding embellishments such as rhinestones, studs, or glitter. Apply these on top of the nail stickers to create a textured and glamorous effect.
-
Create Accent Nails: Accent nails are a popular trend in nail art. Choose a different design for one or two of your nails and let them stand out. This can be a great way to showcase intricate or statement nail sticker designs.
Removing Nail Stickers
When it’s time to remove your nail stickers, here’s the best way to do it:
-
Gently Peel Off the Stickers: Start by peeling off the nail stickers, starting from one corner and slowly working your way across. Be gentle to avoid damaging your natural nails.
-
Use Nail Polish Remover: If there is any residual adhesive left on your nails, soak a cotton pad in nail polish remover and gently swipe it over your nails. This will remove any remaining sticker residue.
-
Moisturize Your Nails: After removing the stickers, it’s important to moisturize your nails and cuticles. Apply a nourishing cuticle oil or hand cream to keep your nails hydrated and healthy.
Caring for Your Nail Stickers
To make your nail stickers last longer and maintain their quality, follow these care tips:
-
Avoid Excessive Exposure to Water: Water and prolonged exposure to moisture can cause the nail stickers to lift and peel. To prolong their lifespan, try to avoid activities that involve excessive water contact, such as prolonged soaking in baths or swimming.
-
Be Gentle with Your Nails: Avoid using your nails as tools or engaging in activities that may cause them to chip or break. Treat them with care to ensure that the nail stickers stay intact.
-
Store Them Properly: To prevent the stickers from drying out or becoming damaged, store them in a cool, dry place away from direct sunlight. Keep them in their original packaging or in a small ziplock bag to protect them from moisture and air.
Troubleshooting
Here are some common issues that may arise when applying nail stickers and how to overcome them:
-
Sticker Doesn’t Adhere Well: If the sticker doesn’t adhere well to your nails, make sure they are completely clean and dry before applying. You can also try applying a thin layer of clear nail polish as a base before sticking the sticker.
-
Sticker Wrinkles or Bubbles: To avoid wrinkles or bubbles, carefully smooth out the sticker from the center outward. Start with your fingertip and gradually apply pressure to eliminate any air pockets.
-
Sticker Doesn’t Last Long: If the sticker starts to peel or chip after a short period, make sure you have properly prepared your nails before application. It’s also essential to apply a top coat to seal and protect the nail sticker.
Frequently Asked Questions
Here are some frequently asked questions about nail stickers:
-
Can I Apply Nail Stickers on Acrylic Nails? Yes, nail stickers can be applied on acrylic nails. Just make sure to follow the same application process as outlined in this article.
-
Can I Apply Nail Stickers on Gel Polish? Yes, you can apply nail stickers on gel polish. Apply the stickers after curing the gel polish and follow the same application process.
-
How Long Do Nail Stickers Last? The longevity of nail stickers can vary depending on the quality of the sticker and how well you take care of them. On average, nail stickers can last anywhere from a few days to two weeks.
-
Can I Apply Nail Stickers on Short Nails? Absolutely! Nail stickers can be applied on nails of any length. Just make sure to select the appropriate size that fits your nails.
-
Can I Use a Hairdryer to Apply Nail Stickers? Yes, using a hairdryer to warm the nail sticker can help it adhere better and conform to the shape of your nail.
Conclusion
Nail stickers are a quick and easy way to add flair and creativity to your manicure. By choosing the right design, ensuring proper preparation, and following the application steps, you can achieve stunning nail art in no time. Don’t be afraid to experiment, get creative, and have fun with nail stickers. With these tips and tricks, you’ll be able to create beautiful and long-lasting nail designs that are sure to turn heads. Happy nail sticker application!


