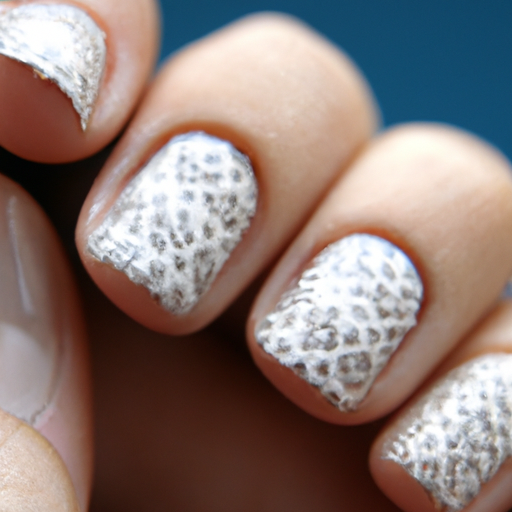
Nail wraps have become a popular trend in the world of nail art, but many people struggle with applying and removing them. If you’re someone who loves the look of nail wraps but isn’t quite sure how to go about it, we’ve got you covered. In this article, we’ll guide you through the steps of applying and removing nail wraps with ease. Whether you’re a beginner or just need a refresher, these tips and tricks will have your nails looking fabulous in no time. So, grab your favorite nail wraps and get ready to achieve a salon-worthy manicure from the comfort of your own home.
Hiring: Chat Job with FB Messenger $25/hour. See Requirements Now
Preparing Your Nails
Before applying nail wraps, it’s important to prepare your nails properly. This ensures that the wraps adhere well and last longer. To start, gather the necessary tools such as a cuticle pusher, a nail file, a buffer, and nail wraps.
The first step is to clean your nails thoroughly. Remove any existing nail polish or residue using a gentle nail polish remover. This allows the wraps to adhere directly to your natural nails.
Next, it’s time to shape your nails. Use a nail file to shape them according to your preference – whether it’s square, round, or any other desired shape. Be sure to file gently and in one direction to avoid damaging the nails.
Once your nails are clean and shaped, gently push back your cuticles using a cuticle pusher. Pushing back the cuticles creates a smooth surface for the nail wraps to adhere to. Take your time during this step to avoid any discomfort or damage to your nails.
Applying Nail Wraps
Now that your nails are prepped, it’s time to apply the nail wraps. This is where the fun begins!
Start by choosing the right size and shape of nail wraps for each finger. It’s important to select wraps that fit each nail perfectly to ensure a seamless and long-lasting application. If a wrap is slightly larger than your nail, you can always trim it down to size later.
Once you have selected the right wrap, peel off the backing carefully. Make sure not to touch the adhesive side of the wrap to avoid any oil or dirt transfer onto the nail wrap.
Now, apply the wrap to your nail starting from the cuticle area and gently press it down. Smooth out any air bubbles or wrinkles by pressing the wrap from the cuticle area towards the tip of your nail. Take your time during this step to ensure a smooth and even application.
After applying the wraps to all of your nails, it’s time to trim and file any excess wrap. Using a nail clipper or scissors, trim off the excess wrap extending beyond the tip of your nail. Then, use a nail file to gently file down the edges for a neat and seamless finish.
Sealing and Curing the Wraps
To ensure the longevity of your nail wraps, it’s important to seal and cure them properly. This step provides an extra layer of protection and helps the wraps stay in place for an extended period of time.
Start by applying a top coat over the nail wraps. This helps to seal the wraps and prevent them from lifting or peeling. Be sure to apply an even and thin layer of top coat, covering the entire surface of each nail. Allow the top coat to dry completely before moving on to the next step.
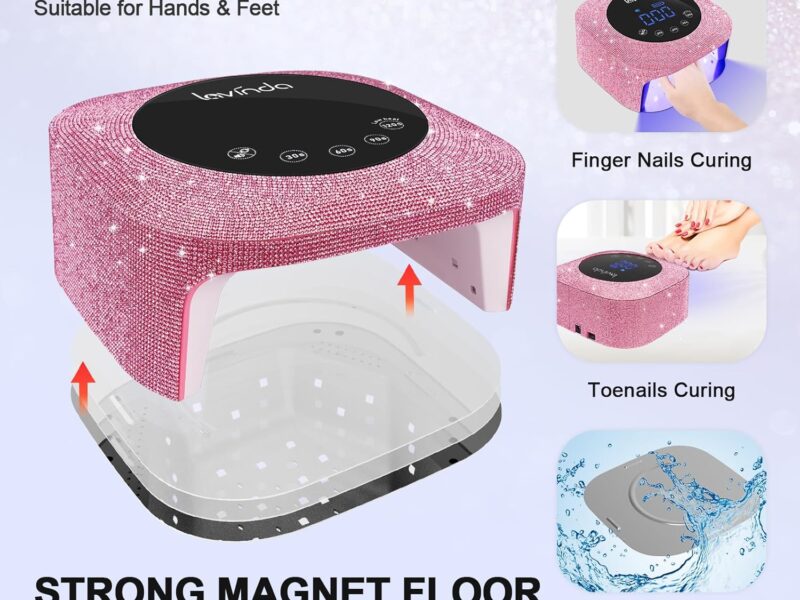
Once the top coat is dry, you can choose to cure the wraps using heat or light. There are different methods for this, depending on the type of nail wraps you are using. Some nail wraps can be cured by applying heat from a hairdryer, while others require a UV or LED lamp for curing. Follow the instructions provided with your specific nail wrap brand to ensure proper curing.
Caring for Nail Wraps
To maintain the beauty and longevity of your nail wraps, it’s important to take proper care of them. Here are some tips for caring for your nail wraps:
-
Avoid excessive water exposure: Although nail wraps are generally waterproof, excessive water exposure can weaken their adhesive. Wear gloves when doing activities such as washing dishes or submerging your hands in water for long periods of time.
-
Protect them from chemicals and oils: Harsh chemicals and oils can damage the adhesive on the nail wraps. When using household cleaners or any products containing chemicals, always wear gloves to protect your nails.
-
Use gloves for household chores: Whether you’re gardening or doing other household chores, wearing gloves can provide an extra layer of protection for your nail wraps. This helps to prevent them from snagging or tearing.
By following these simple care tips, you can ensure that your nail wraps remain intact and beautiful for as long as possible.
Removing Nail Wraps
Now, let’s talk about the proper way to remove nail wraps. This is an important step to ensure that your natural nails remain healthy and undamaged.
To remove nail wraps, start by gently lifting the edges of the wraps using a cuticle pusher or a wooden cuticle stick. Be careful not to force or pry the wraps off, as this can damage your nails.
Once the edges are lifted, proceed to soak your nails in warm water. This helps to loosen the adhesive on the wraps, making them easier to remove. You can add a few drops of gentle hand soap or baby oil to the water for added moisture.
After soaking for a few minutes, use the cuticle stick to gently push and slide the wraps off your nails. Be patient during this process and avoid using excessive force, as it can cause damage to your natural nails.
Alternative Removal Methods
While the soaking method is the most gentle way to remove nail wraps, there are alternative methods that can be used as well.
One such method is using nail polish remover. Soak a cotton ball or pad with nail polish remover containing acetone, and firmly press it onto each nail wrap. Allow the remover to penetrate the wraps for a few minutes, then gently rub the wraps off using the soaked cotton ball. However, it’s important to note that acetone can be drying to the nails, so it’s best to use a moisturizer or cuticle oil afterwards to rehydrate them.
Another alternative is applying cuticle oil to the edges of the wraps. Allow the oil to soak in for a few minutes, then gently lift the wraps using a cuticle pusher or wood stick. This method is ideal for those who prefer a more natural and gentle approach to removing nail wraps.
Repairing Damaged Nail Wraps
Sometimes, despite our best efforts, nail wraps can become damaged. Whether it’s a torn or lifted edge, there are ways to repair them without removing the whole wrap.
For torn edges, you can gently trim off the torn portion using a pair of small scissors or nail clippers. Be careful not to cut into your natural nail while doing this. Once trimmed, apply a thin layer of top coat over the repaired edge and gently press it down to secure it in place.
In the case of a lifted edge, you can use a small amount of clear nail glue to re-adhere it to your natural nail. Apply a small drop of glue under the lifted edge, then press it down and hold it in place for a few seconds until the glue sets. Finish off by applying a layer of top coat over the entire nail to ensure a seamless finish.
If the damage is more extensive or if multiple wraps are affected, it may be necessary to replace the damaged wraps altogether. This can be done by repeating the application process on the affected nails, starting from the cleaning and shaping step.
Avoiding Common Mistakes
To achieve the best results when applying and maintaining nail wraps, it’s important to avoid common mistakes that can compromise their appearance and durability. Here are some mistakes to watch out for:
-
Applying too much pressure: When smoothing out the nail wraps, avoid applying excessive pressure as it can cause them to distort or create wrinkles. Gentle pressure is all that’s needed to ensure a smooth application.
-
Not allowing the wraps to cure properly: Proper curing is crucial to the longevity of the nail wraps. Make sure to follow the specific curing instructions provided by the brand you are using. Rushing this step can result in premature lifting or peeling.
-
Skipping the top coat: The top coat serves as a protective layer for the nail wraps. Skipping this step can leave the wraps vulnerable to damage, such as chipping or lifting. Always make sure to apply a thin layer of top coat and allow it to fully dry.
-
Neglecting proper nail maintenance: Nail wraps can enhance the appearance of your nails, but it’s important to not neglect the overall health of your natural nails. Regularly moisturize your cuticles and nails, and give your nails a break from nail wraps occasionally to allow them to breathe and recover.
By being mindful of these common mistakes, you can ensure that your nail wraps look flawless and last as long as possible.
Frequently Asked Questions
Here are answers to some frequently asked questions about nail wraps:
How long do nail wraps last?
Nail wraps can last up to two weeks or longer, depending on various factors such as the brand, your daily activities, and how well you care for them. With proper application and care, you can enjoy beautiful nails for an extended period of time.
Can you apply nail wraps on uneven nails?
Nail wraps are a great option for uneven nails, as they can help to create a smooth and uniform appearance. However, it’s important to properly shape and buff your nails beforehand to minimize any unevenness. This allows the wraps to adhere better and provides a more seamless result.
Can I use nail wraps on acrylic nails?
Yes, nail wraps can be applied on top of acrylic nails. Make sure to properly prep the acrylic nails by removing any residue or oil and buffing them lightly to create a rough surface for the wraps to adhere to. Follow the same application and removal steps outlined earlier, and enjoy your beautiful nails!
Can I apply nail wraps on toenails?
Absolutely! Nail wraps can be applied to toenails just as they can be applied to fingernails. The steps are the same – clean, shape, apply, seal, cure, and enjoy beautiful toenails!
Conclusion
With the right tools, techniques, and care, applying and removing nail wraps can be a breeze. Preparing your nails properly, choosing the right size and shape of wraps, and sealing and curing them are all essential steps in achieving a flawless and long-lasting finish. Taking care of your nail wraps by avoiding excessive water exposure, protecting them from chemicals, and properly maintaining them ensures that they stay beautiful for as long as possible. And when it’s time to remove them, do so gently and with care to maintain the health of your natural nails. By following these guidelines, you can enjoy stunning and professional-looking nails with ease!


