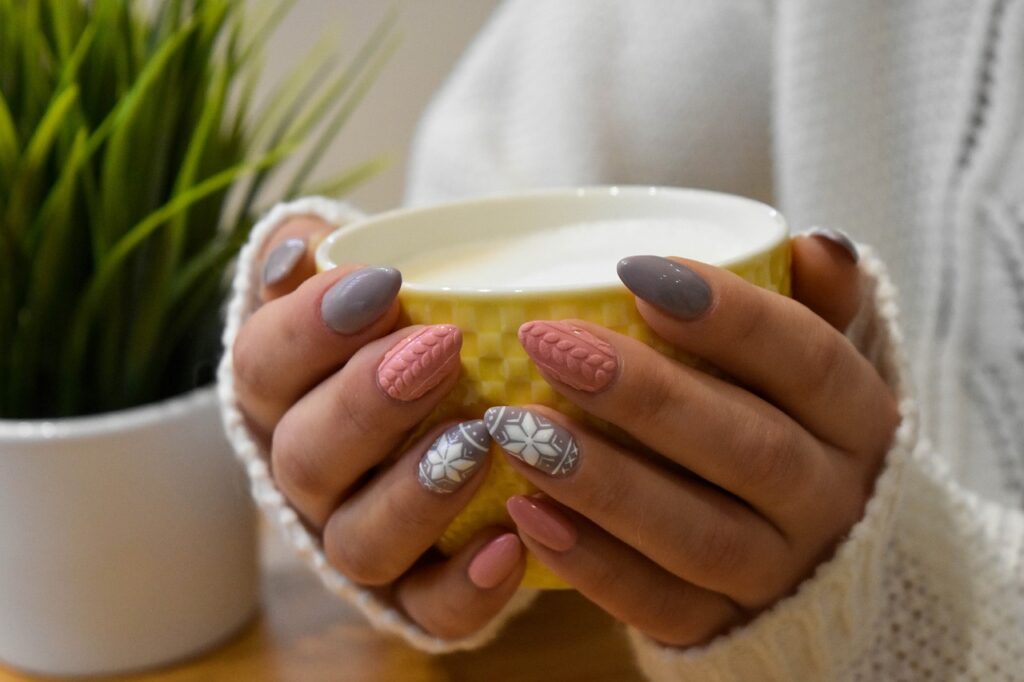
Are you looking to add some flair to your manicure? If so, you’ve come to the right place! In this article, we will show you how to use nail striping tape for precise designs. Whether you’re a beginner or a seasoned nail art enthusiast, this simple yet effective technique will allow you to create stunning and intricate patterns on your nails. So grab your favorite nail polish shades and let’s get started on this exciting journey of nail art!

Hiring: Chat Job with FB Messenger $25/hour. See Requirements Now
Choosing the right nail striping tape
When it comes to creating precise and intricate designs on your nails, choosing the right nail striping tape is crucial. First, consider the width and thickness of the tape. Thinner tape is ideal for creating delicate lines, while wider tape can be used for bolder designs. Additionally, the tape should be flexible enough to conform to the curves of your nails without losing its adhesive properties.
Another factor to consider is the desired color of the tape. Nail striping tape comes in a variety of colors, so choose one that complements your nail polish or the overall design you have in mind. Whether you prefer metallics, neon colors, or classic black and white, there is a nail striping tape available to suit your style.
Opting for self-adhesive nail striping tape is highly recommended for ease of use. Self-adhesive tape eliminates the need for glue or adhesive, making the application process much simpler and less messy. With self-adhesive tape, you can simply peel off the backing and stick it onto your nails effortlessly.
Selecting a reputable brand is also important. Established brands often offer high-quality tape that adheres well, lasts longer, and produces cleaner lines. It’s worth investing in a reliable brand to ensure a smooth and enjoyable nail art experience.
Preparing your nails
Before you start applying nail striping tape and creating your design, it’s essential to prepare your nails properly. Begin by cleaning your nails to remove any dirt, oil, or residue. Trim your nails to your desired length and shape them using a nail file. By shaping your nails, you can create a neat canvas for your nail art.
Next, apply a base coat to your nails. A base coat not only protects your natural nails from staining but also helps the nail polish adhere better and last longer. Allow the base coat to dry completely before proceeding.
Creating basic straight lines
To start creating basic straight lines with nail striping tape, cut a strip of tape to your desired length. Ensure that the tape is straight and even for a precise finish. Carefully place the tape onto your nail, positioning it in the desired location. Press the tape firmly onto your nail to ensure it adheres properly.
Once the tape is in place, apply nail polish over the tape, making sure to cover the entire nail. Choose a color that contrasts or complements the base color for a visually appealing effect. After applying the nail polish, gently remove the striping tape while the polish is still wet. This prevents the tape from pulling the polish and ensures clean, crisp lines. Allow the polish to dry completely before moving on to the next nail.
Designing diagonal lines
Creating diagonal lines using nail striping tape adds a dynamic and modern touch to your nail art. To begin, cut the striping tape at an angle to form a diagonal line. Position the tape diagonally on your nail, ensuring it aligns perfectly with the angle you desire. Press the tape securely onto your nail to ensure it stays in place during the application process.
Next, apply nail polish over the tape, covering the entire nail. As with straight lines, choose colors that create contrast or complement each other. Remove the tape gently while the polish is still wet to achieve clean, precise lines. Allow the polish to dry thoroughly for a flawless finish.

Creating intricate patterns
If you’re feeling more adventurous, you can create intricate patterns using nail striping tape. Start by planning your design on paper, sketching out the shapes and lines you want to create. Once you have a clear idea, cut the striping tape accordingly. The tape should align with your design and fit perfectly on your nails.
Carefully place the striping tape on your nails, following your design closely. Ensure that each piece of tape adheres firmly to the nail surface to prevent any bleeding or smudging of colors. Once all the tape is in place, apply nail polish over the entire nail. As always, choose colors that enhance the design and complement each other.
Peel off the striping tape gently while the polish is still wet for clean and precise lines. Allow the polish to dry completely before moving on to admire your masterpiece.
Adding multiple colors
For a vibrant and eye-catching nail design, adding multiple colors with nail striping tape can elevate your nail art to another level. Start by choosing complementary nail polish colors that will work well together. Apply the first color onto the nail and allow it to dry completely.
Next, cut and position the striping tape for your desired design. The tape can be used to create stripes, chevron patterns, geometric shapes, or any other design you envision. Once the tape is in place, apply the second color of nail polish over the tape and the exposed nail. This creates a beautiful contrast and adds dimension to your design.
Remove the striping tape gently while the polish is still wet to achieve clean lines where the colors meet. Allow the polish to dry thoroughly to showcase your vibrant and meticulously designed nail art.

Creating geometric patterns
Geometric patterns are a popular choice for nail art enthusiasts, as they offer a modern and striking look. Nail striping tape can be your best friend when it comes to achieving precise geometric lines and shapes.
To create geometric patterns, use striping tape to outline the shapes you want to create. Whether it’s squares, triangles, or diamonds, the tape will keep your lines sharp and well-defined. Once the shapes are outlined with tape, fill them in with your chosen nail polish colors. Ensure that the polish covers the entire shape evenly.
Carefully remove the striping tape while the polish is still wet to reveal your geometric patterns. This step requires a steady hand and patience to prevent any smudging or bleeding of colors. Allow the polish to dry completely before showcasing your geometric masterpiece.
Enhancing with glitter and rhinestones
To add some sparkle and glam to your nail designs, consider enhancing them with glitter and rhinestones. Start by applying a base color on your nails, ensuring it complements the glitter and rhinestone colors you’ll be using.
Cut and place the striping tape on your nails to create patterns or borders for your glitter and rhinestone placement. Apply a clear topcoat over the tape, making sure it covers the entire nail. While the topcoat is still wet, sprinkle glitter onto the nail, focusing on the areas covered by the tape. The tape helps create clean lines and prevents the glitter from spreading.
Gently remove the striping tape while the topcoat is still wet to reveal your defined glitter lines or patterns. Finally, add rhinestones to desired areas using a small dot of clear nail polish as glue. Allow the design to dry completely before showcasing your glamorous and bedazzled nails.
Finishing touches and maintenance
To ensure your nail art lasts longer and stays in pristine condition, pay attention to the finishing touches and maintenance. Apply a topcoat over your entire nail design to add an extra layer of protection and durability. This will help prevent chipping and fading, extending the life of your nail art.
Take the time to clean up any excess polish or tape residue around your nails using a small brush dipped in nail polish remover. This will leave your nails looking clean and polished.
Avoid exposing your freshly designed nails to water immediately after application, as this can cause smudging or smearing. Allow your nails to fully dry before engaging in activities that may compromise your nail art.
Moisturize your nails and cuticles regularly to maintain their health and strength. Use a cuticle oil or cream to keep your cuticles soft and hydrated, preventing them from becoming dry and cracked.
Lastly, don’t forget to touch up any chipped or faded areas as needed. This will keep your nail art looking fresh and flawless for longer periods.
Extra tips for precise designs
For those who strive for even more precise nail art designs, here are some extra tips to take your nail striping tape skills to the next level:
-
Use tweezers to assist with the precise placement of the striping tape. This can be especially helpful when working with intricate designs or smaller areas.
-
Experiment with different tape widths and angles to create unique and dynamic designs. Play around with various combinations to find what works best for your desired look.
-
Practice on a nail art mat or a plastic sheet before applying the tape directly onto your nails. This allows you to refine your technique and master your design before committing to your nails.
-
When applying nail polish, use thin coats for better results. Thin coats dry faster and are less likely to smudge or chip when the striping tape is removed.
-
Allow adequate drying time between layers of nail polish to avoid any bleeding or smudging of colors. Patience is key when achieving precise nail art designs.
By following these tips and techniques, you can confidently use nail striping tape to create precise and stunning designs on your nails. Let your creativity shine and enjoy the process of transforming your nails into miniature works of art.


